How To Paint Furniture
With a lick of paint and a bit of imagination (or access to a Pinterest account) it’s easy to fill your home with bespoke pieces tailored to your personal taste.
If you’re excited by the idea of personalised furniture but there’s something holding you back, you’re not alone. Strip, sand and paint are three words that fill most DIY-newbies with jitters.
But fear not! We’ve created a one-stop-shop article with all your questions answered to show you how to paint furniture …
All the gear but no idea? Read on…
Why paint furniture when you can buy it ready-made?
In comparison to some of the more accessible and modern furniture available today, older furniture is quite often made with quality construction and simply in need of a little TLC.
Whether it’s a dated piece you’re tired of or a vintage gem you’ve discovered when rummaging around in car boot sales and charity shops, a restoration makeover is sure to save you cash. And let’s not forget, you will be left with something unique that feels personalised.
So, first things first. What’s your vision and what finish are you looking for?
Before you go hunting for the perfect paint, it’s important to consider what finish you want to achieve. Distressed or block colour? Glossy or matte? Once you have these starting blocks it’s easier to pinpoint the right paint for the project.
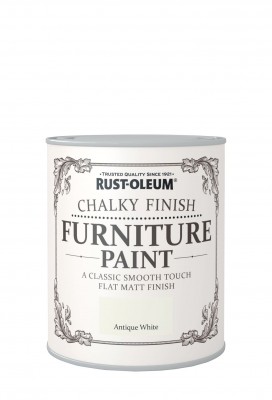
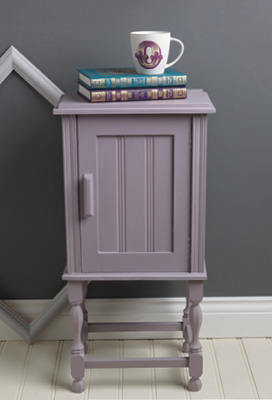
The shabby chic look is the most popular DIY look at the moment. For that style, Rust-Oleum Chalky Finish Furniture Paint will give you the smooth, matt finish you’ll need. You can easily create a distressed look by going over the piece with sand paper once fully dry.
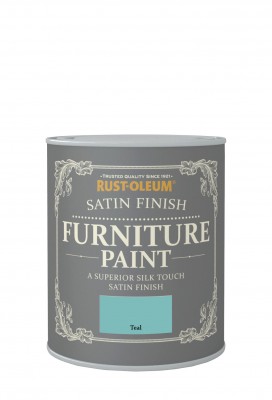
If a luxurious sheen is what you’re after, consider Rust-Oleum Satin Finish Furniture Paint which will give you a timeless silky touch.
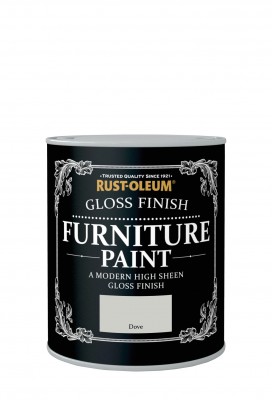
For something a little chicer, try a modern, Rust-Oleum Gloss Finish Furniture Paint.
And for a textured metallic look a Rust-Oleum Metallic Finish Furniture Paint will do exactly what it says on the tin — giving you luxury interiors all the way.
Do you always have to use a primer?
Priming depends on your surface and the paint you are using. There are some paints like Chalky Finish or Universal Spray paints which don’t require any priming, so always check the instructions on the label before you get down to it.
There a different primers designed specifically for wood, plastic, metal or ceramic surfaces. The job of the primer is to seal the surface, provide a good key for the paint and provide a uniform base to apply your paint to, all of which improve the durability and appearance of your paint finish.
Surface Preparation.
Whether you’re priming or applying your paint direct it is always recommended to make sure the surface you are painting is completely clean, dry and free from any surface contaminants such as wax, furniture polish, dirt or dust etc. that will prevent the paint from achieving a good key.
Our recommendations are to wash the item thoroughly with a hot water/liquid detergent solution, rinse away any soap residues with clean warm water. Allow the surface to dry before a final wipe with methylated spirit or white spirit.
It is generally a good idea to lightly abrade an existing paint or varnish to help the next coat to adhere and to make sure that the existing paint or varnish has a good key, ensuring loose or flaking paint or varnish is removed back to a firm feathered edge.
Does it matter what type of paintbrush I use?
There are two main types of paintbrushes. There are those with natural-hair bristles and those made with synthetic materials (although you can get brushes made with a blend of both)
When using oil-based paint, natural- hair will give you a better finish. However, natural- hair bristles when used with water based or latex paint will absorb the water and become limp.
Unfortunately, cheaper brushes don’t hold as much paint as the higher quality ones which means the paint job will take longer. The better quality brushes usually have a tapered end too which will give you more control so it’s best from the outset to invest in quality brushes.
To prep should I use sandpaper or wire wool?
If you are painting wood, abrasion is important to allow the paint to grip to the surface. If the surface is free from contaminants, a light sand will do the trick. Choose a fine sandpaper with a 360 to 600 grit.
For heavy sanding and stripping, you’ll need to use a coarser sandpaper with a 40 to 60 grit. If you think there might be varnish or other contaminates which could react with the paint on your surface, then once you have finished sanding use white spirit and wire wool to ensure any residue has been removed.
Should I use wax to seal the paint?
Most paints provide a tough durable finish in their own right that does not require any further protection from a wax or protective lacquer. Some paints, such as Rust-Oleum Chalky Finish Furniture Paint require application of a wax or lacquer to protect and enhance the painted surface.
Furniture wax is easy to apply with a brush or rag and will give you a soft, velvety sheen, which is perfect if you’ve gone for the shabby chic look. The furniture lacquer is applied with a brush and provides a matt finish for projects that require more durability against knocks and stains.
Masking matters!
To ensure one area of paint doesn’t bleed into the other or if you want to corner off those edges to ensure a polished finish, masking tape is essential.
A lot of DIY-dab hands will say that craft tape is the Holy Grail but masking tape works just as well!
How do I paint furniture with spray paint?
If you’d rather opt for spray over brush paints then look no further. Check out this easy tutorial on how to spray paint like a pro…
How To Spray Paint from Make It Yours on Vimeo.


