How To Paint Shabby Chic Furniture In 8 Easy Steps

Not too long ago our interiors were about clean minimalism and bright airy spaces, born from the pre-recession ideology that the minimal look equates to luxury.
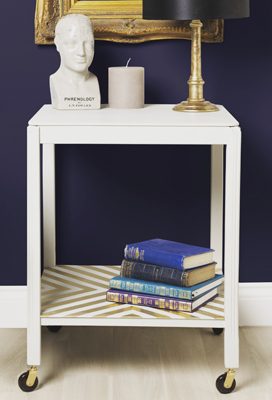
Today, when it comes to furniture, many of us are opting for vintage style gems over the polished, minimalist look. It’s fair to say that the shabby chic look is having more than a moment.
Aside from adding the shabby chic feel to existing items in the home, your go-to sources will be charity shops, markets and auction houses which are all great places to pick up unique pieces for a low cost. Alternatively, websites like Gumtree, eBay and The Freecycle Network are filled with furniture bargains.
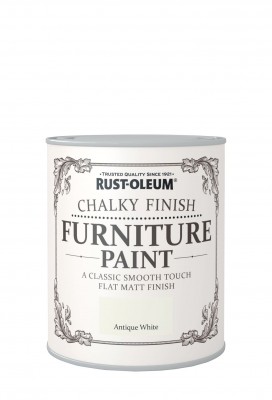
The shabby chic look is best achieved with wooden furniture and a couple of coats of Rust-Oleum Chalky Finish furniture paint.
Fancy giving it a go? Here’s everything you’ll need to know before making the shabby, oh so chic…
What you will need
- A piece of wood furniture
- Rust-Oleum Chalky Finish Furniture Paint
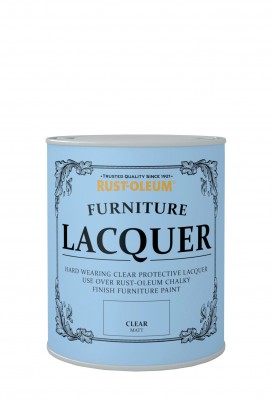
- Rust-Oleum Furniture Finishing Wax
- Sandpaper (lightweight and medium grade)
- White Spirit
- Wire wool
- A cloth or rag
- Mixing sticks
- Painter’s tape (or masking tape)
- A range of brushes and rollers in different sizes (depending on the size of your chosen piece)
Steps
Move your chosen piece to a well-ventilated area and place on top of newspaper or a dust sheet.
As with any painting ensure the surfaces to be painted are clean, dry and free from loose paint and grease
As older furniture is likely to be contaminated by old varnishes etc. it is best to clean the surface before you begin painting.
Top Tip! Previously painted surfaces should be abraded to provide a key. If the wood has been polished with wax, a wire wool pad plus turps or white spirit should do the trick. If it’s varnished, use sandpaper.
Mark off any areas you don’t want painted with masking tape to ensure a clean, tidy finish.
Apply two thin coats of Rust-Oleum Chalky Finish Furniture Paint using a back and forth motion, slightly overlapping the strokes to avoid joining lines. Remember to leave four hours between coats to ensure a smooth finish.
Top Tip! Gently sand down the base layer with a fine grit sandpaper, around 180 grit should do it, for a cleaner finish.
Now for the fun part, for that natural wear and tear look use a fine grit sandpaper and gently rub at the areas of paint you’d like to remove, revealing the bare wood below — this usually works best on the raw edges and corners.
If you are feeling creative, why not use to colours of Chalky Finish paint to achieve a look complimentary the other furnishings in your chosen room?
Top Tip! Still want that essence of luxury? Use Rust-Oleum Metallic Furniture Paint as your base layer.
Once you are happy with the look of your shabby chic creation, seal the paintwork with Rust-Oleum Furniture Finishing Wax in clear or dark depending on your chosen paint shade for a longer lasting durability.