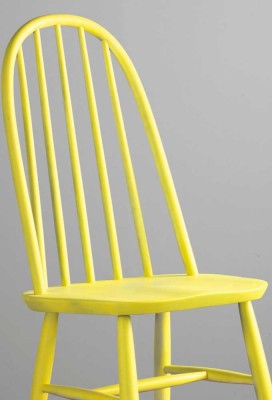
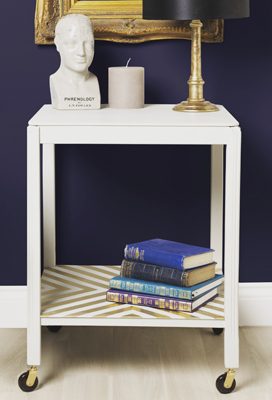
How To Paint Wooden Furniture

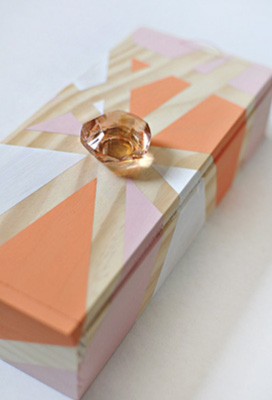
Give wooden furniture a certified ‘made-by-me’ stamp and satisfy your passion for customisation by giving it a new lease of life.
Whether it’s an unloved bedside table or bare banisters that are lacking luster, wooden furniture can be adapted to fit pretty much any colour scheme with one simple application.
Rust-Oleum has a range of furniture paints in various finishes which can also be applied directly to your chosen piece making it a simple (and cost effective) project to undertake.
To make it even easier, we’ve devised a cheat sheet guiding you through the need-to-knows on how to paint wooden furniture…
What you will need
- A piece of wooden furniture of your choice
- A fine-grade sandpaper or sanding block
- Mixing Sticks
- Paintbrushes in a range of sizes
- Painter’s Tape (or masking tape)
- Two cloths
- Furniture Finishing Wax
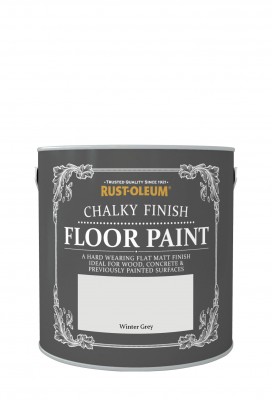
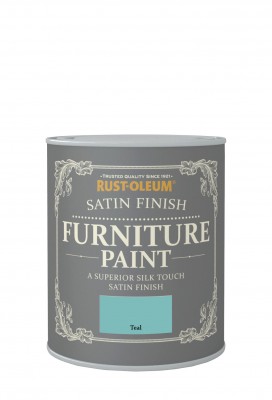
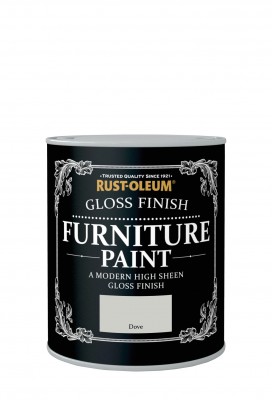
- Your chosen paint in Rust-Oleum Chalky Finish Furniture Paint, Rust-Oleum Satin Finish Furniture Paint, Rust-Oleum Gloss Finish Furniture Paint or Metallic Finish Furniture Paint
Steps
Move the wooden furniture to a well-ventilated area and place on top of newspaper or a dust sheet. Remove any hardware, handles or drawers and paint them separately before reattaching.
As with all paint jobs, ensure the surfaces to be painted are clean, dry and free from loose paint, grease and contaminants. Previously painted surfaces should be abraded to provide a key – this will help the paint grip.
Top Tip! You don’t have to take it to the bare wood but make sure you get rid of the sheen.
When you’ve finished sanding, it’s important to remove all the dust, as residual dust will not only create a flawed finish, but will also keep the paint from sticking. Wipe over with a damp cloth to start and finish with a dry rag.
Mask off any areas of the object you don’t wish to paint to ensure you get a clean, tidy finish.
Now the fun part, choosing the best paint for the project. Rust-Oleum Furniture Paint range acts as a primer and paint in one so using these will save you time on DIY projects. All of the colours across the Satin, Gloss and Chalky Finish Furniture Paint range are also certified Toy Safe!
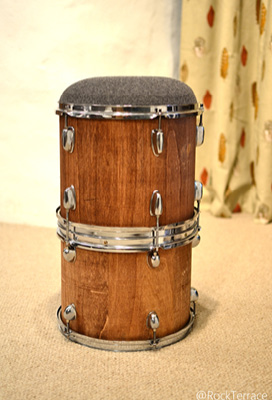
It’s also a good idea to decide now if you would like a distressed finish which nods towards the ever popular shabby chic look. To achieve this look, you will need to use the Chalky Finish furniture paint and once dry, rub a fine-grade sandpaper over areas of the paintwork to reveal the natural wood beneath.
Top Tip! Use two layers of two Chalky Finish Paint colours to create the perfect shabby chic look.
Stir the paint to make sure it is thoroughly mixed and always use a good quality brush to prevent brush marks. A 3-inch bristled-brush will suit most jobs and 1-inch is best for the fiddly bits or a small roller.
Top Tip! Only load your brush 1/3 or 1/2 of the way up to prevent the paint from drying and fraying the bristles.
You’ll need two to three coats to ensure an even coverage, leaving an hour between coats for drying.
Top Tip! Use an overlapping side-to-side motion as you go. The key is to keep a wet edge for each section and keep up your speed or you’ll notice overlapping marks when the paint is dry.
Once the paint is fully dry, add a soft protective finish with Furniture Finishing Waxing clear or dark. It is easy to apply by brush or with a rag and dries with a soft, velvety sheen, ensuring the paint finish is water-repellent and seals against stains and marks.
Top Tip! If you’ve used Chalky Finish Furniture Paint and want to keep its smooth matt finish, our Furniture Lacquer is highly durable and seals paint work, protecting it from knocks and scratches.
Remember by adding this protective layer, the easier it is to keep clean.