How To Spray Paint Picture Frames
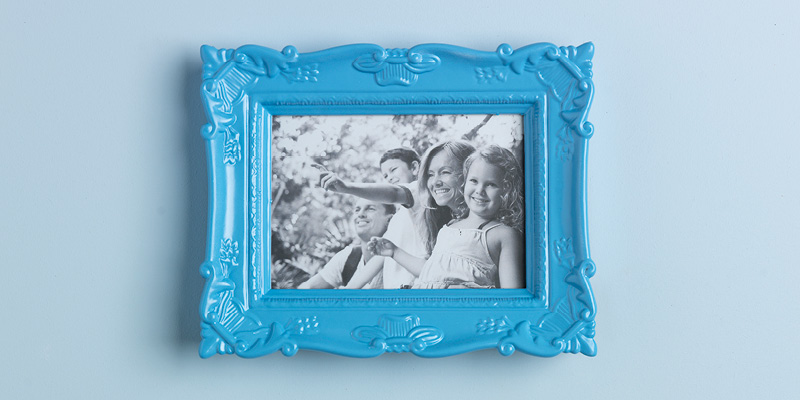
Giving picture frames a quick spray paint is a great way to tie them into your interior scheme and add a pop of colour into rooms.
If you are on a budget, look out for second-hand photo frames in charity shops and car boot sales – no matter what their condition you can easily bring them back to brand new, plus they make the perfect customised gift!
Take a look at the step-by-step guide below to see how it’s done.
Once you’ve cracked it, take a look at more project inspiration for frames here.
What you will need
- Old picture frame
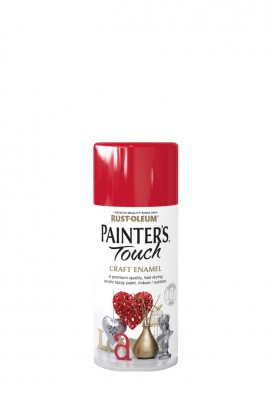
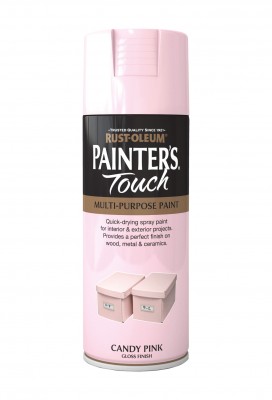
- Rust-Oleum Painter’s Touch
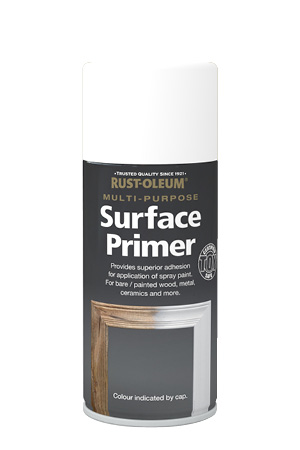
- Rust-Oleum Surface Primer
- Sandpaper
- Newspaper/ Dust sheets
Steps
Remove the glass and back of the frame. Sand the frame lightly and clean with a damp cloth. Cover the area where you are painting with newspaper and ensure it is well-ventilated.
Always follow the instructions on the back of the can. For a better finish, apply a light coat of Rust-Oleum Surface Primer and leave to dry before applying the top coat.
Apply your chosen colour (or colours) of Rust-Oleum Painter’s Touch in multiple light coats to avoid any paint runs. Two or three light coats will be enough using a continual back and forth motion.
Leave the frames to dry for 24 hours, then replace the glass, insert your photograph and re-fit the back of the frame.
