This website uses cookies and other tracking technologies (also known as pixels or beacons) to aid your experience (such as viewing videos), as well as “performance cookies” to analyze your use of this website and to assist with marketing efforts. If you click the "Accept All Cookies" button or continue navigating the website, you agree to having those first and third-party cookies set on your device. If you do not wish to accept cookies from this website, you can choose to not allow cookies from this website by updating your browser preferences. For more information on how we use Cookies, please read our privacy policy. Accept All Cookies

Menu

toggle menu
  • Home
  • Products
  • Inspiration
  • Lifestyle
  • How-to
  • Competition
  • Latest
  • About
  • Stockists
  • Contact
Home » How-To » How to Transform a Vintage Sideboard

How to Transform a Vintage Sideboard

One man’s trash is another man’s treasure!

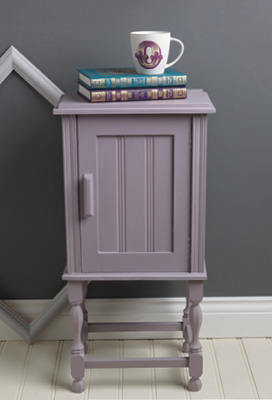
Treated properly, charity shop furniture can look stunning – and has far more character than any flat-pack affair. With a lick of Rust-Oleum Satin Finish Furniture Paint you can completely transform an item and tailor it to your taste.
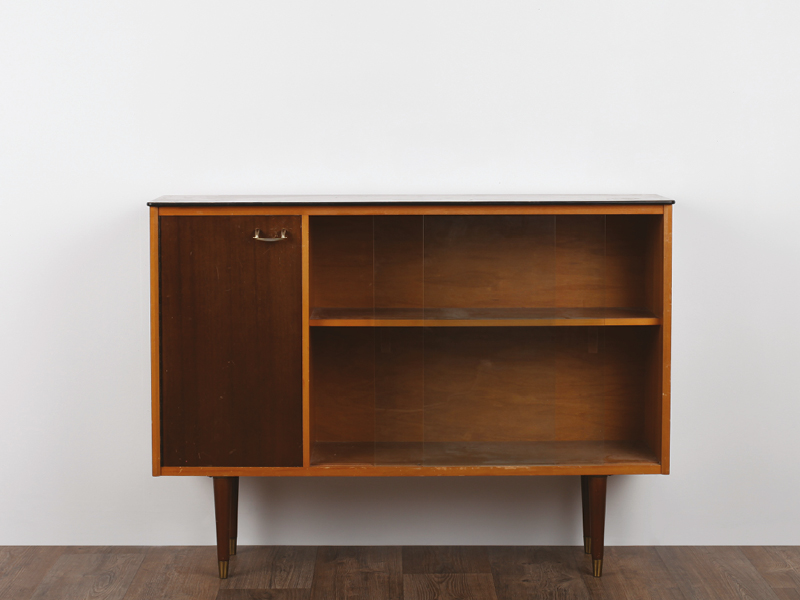


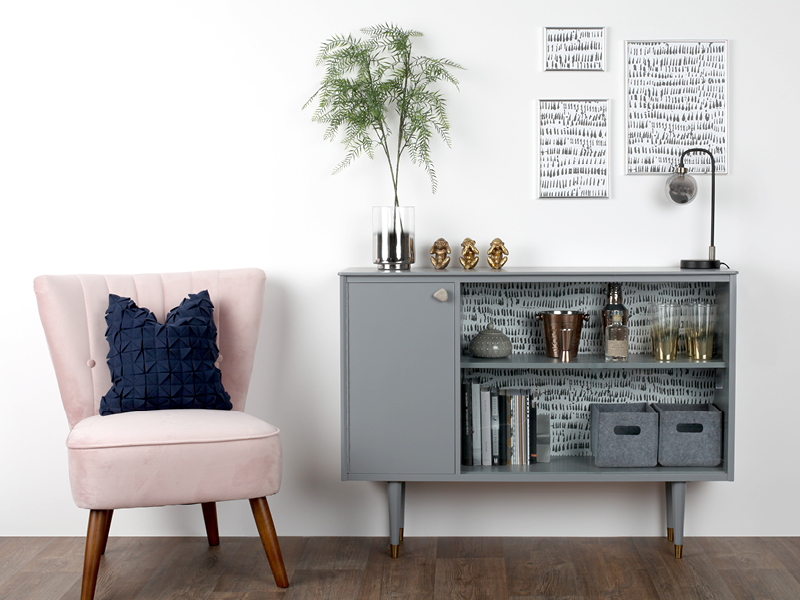
Here’s how we upcycled a vintage sideboard found in a British Heart Foundation charity shop for just £15 and turned it into a mid-century, modern display unit.
 

What you will need
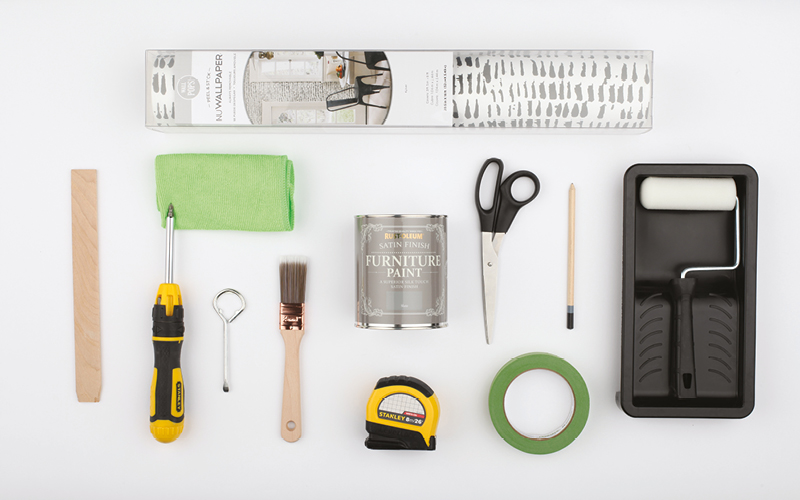
  • Rust-Oleum Satin Finish Furniture Paint
  • Self-adhesive wallpaper
  • Paint brush
  • Masking tape
  • Tape measure
  • Paint stirrer and paint tin opener
  • Paint roller and tray
  • Scissors
  • Screwdriver
  • Cloth for cleaning

Steps

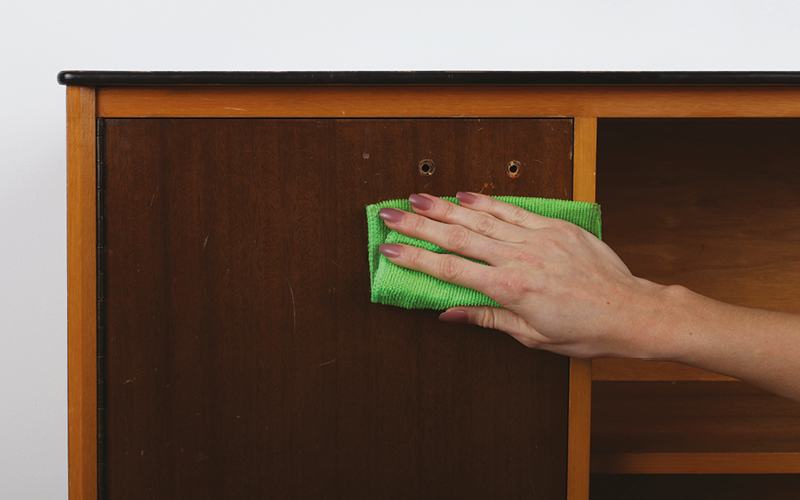
  1. Clean the furniture thoroughly, remove handles and mask any areas you do not wish to paint with masking tape.
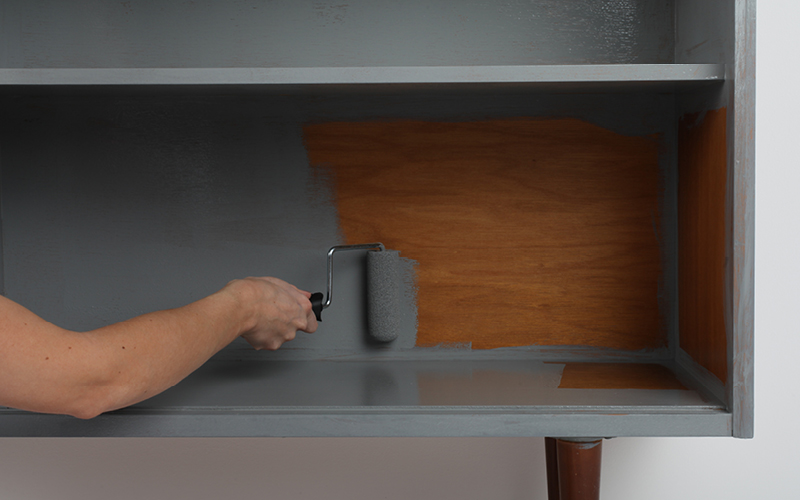
  2. Take your can of Rust-Oleum Satin Finish Furniture Paint (we used the colour Slate) and stir thoroughly.

    Satin Finish Furniture Paint requires no sanding or priming on most surfaces, so you can get cracking straight away. Using a roller for large areas and a brush for harder to reach nooks and crannies, paint the unit and leave to fully dry. You may need up to three coats.
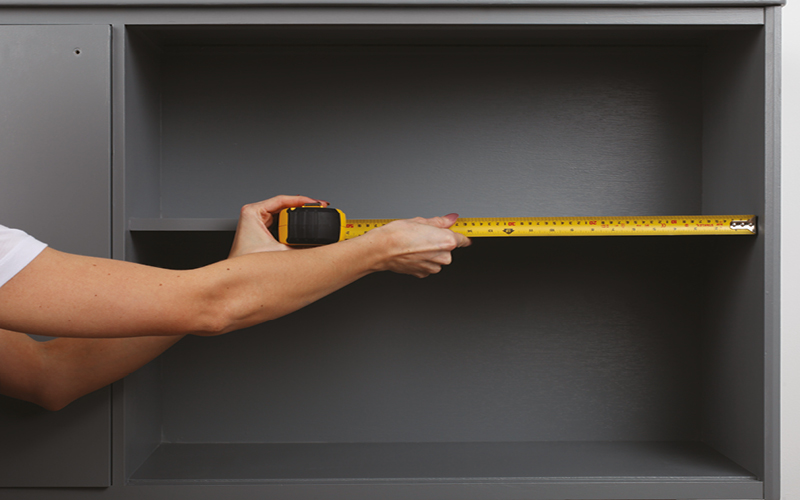
  3. Measure the area you wish to cover with self-adhesive wallpaper and cut to size.
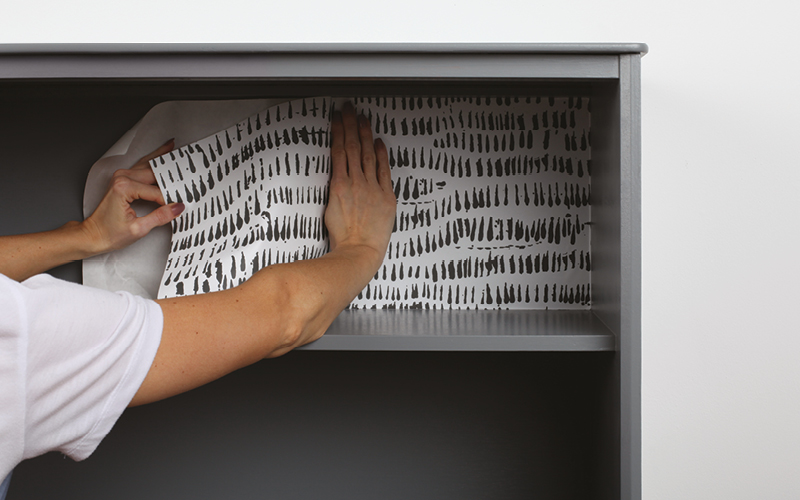
  4. Apply your wallpaper, smoothing any bumps or bubbles with your hand as you go.
Sign up for our newsletter and get a free book of ideas.

Thanks for signing up, please Click Here to view the previous issues.

Share this

How-Tos

VideoThumbnail-4

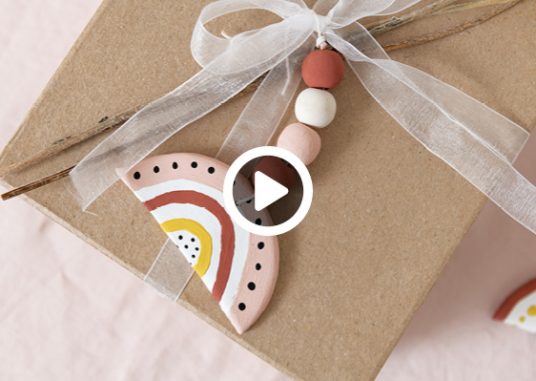
Rainbow Care Package DIY

More >

VideoThumbnail-

How To Chalkwash

More >

VideoThumbnail-2

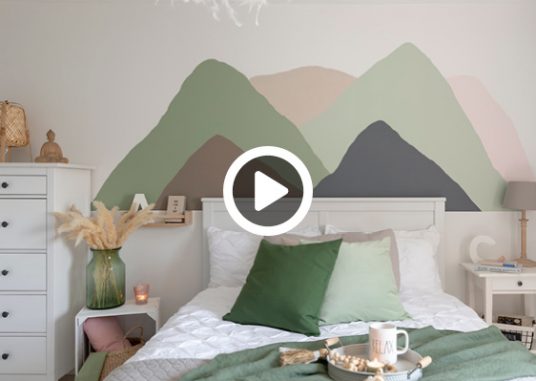
Marvellous Mountain Wall Mural

More >

Macrame-LargeThumbnail

HOW TO CREATE A HANGING MACRAMÉ PLANTER

More >

View all

Inspiration

FIVE WAYS TO ADD THE WOW FACTOR TO YOUR BATHROOM

More >

Get The Midas Touch With Metallic White Gold

More >

how to style your home the rose gold way

More >

make an industrial statement with metallic gun metal

More >

View all

Lifestyle

BEHIND THE BRUSH: MEET FURNITURE UPCYCLER ELIZABETH DOT DESIGN

BEHIND THE BRUSH: MEET FURNITURE UPCYCLER ELIZABETH DOT DESIGN

More >

Behind The Brush: Meet DIY Diva Julia Kendell

Behind The Brush: Meet DIY Diva Julia Kendell

You might recognise her from DIY SOS...

More >

BEHIND THE BRUSH: MEET DEBBIE CARNE OF ALIJOE DESIGNS

BEHIND THE BRUSH: MEET DEBBIE CARNE OF ALIJOE DESIGNS

In this week’s Behind The Brush interview, we’re getting to know the founder of Alijoe Designs, Debbie Carne ...

More >

BEHIND THE BRUSH: MEET SAM AND CATHERINE OF ROCK TERRACE

BEHIND THE BRUSH: MEET SAM AND CATHERINE OF ROCK TERRACE

More >

View all
  • Products
  • Inspiration
  • Lifestyle
  • How-To
  • About
  • Stockists
  • Make it Yours magazine
  • Contact

Follow us

Rust-Oleum, Portobello Industrial Estate, Birtley, Chester-le-Street, County Durham, DH3 2RE
Tel: +44 (0)191 410 6611 Email: enquiries@tor-coatings.com
© Rust-Oleum 2021 Copyright. All Rights Reserved. 'Make It Yours' is a registered trademark. Privacy Policy | Terms & Conditions