HOW TO: MAKE A CHRISTMAS EVE CRATE BOX
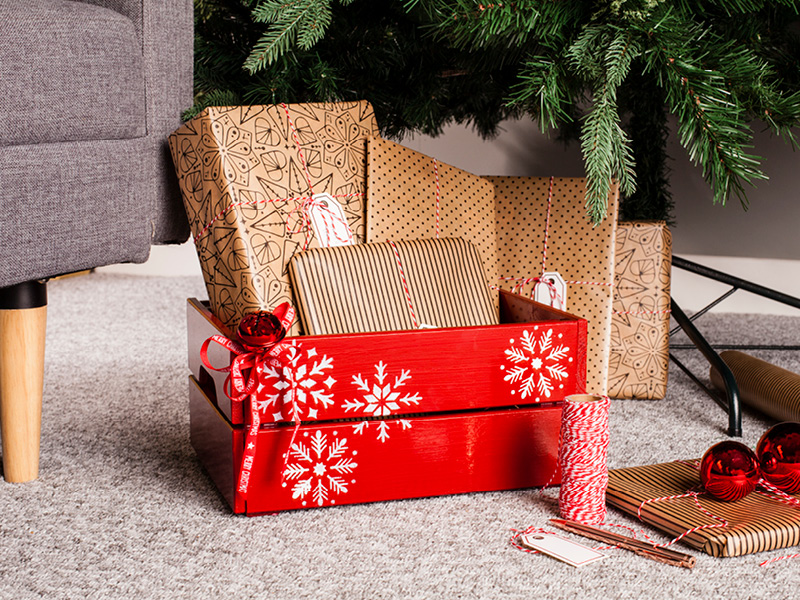
A longstanding tradition for many is the Christmas Eve box. It looks beautiful and is filled with special little gifts like cosy new pyjamas, sweet treats and hot chocolate to make the night before Santa even more special!
For little kids AND big kids, it’s a really nice way to kick off the celebrations or act as a trendier (and tidier) alternative to gift bags. If you’re a newcomer to the Christmas Eve box, 2016 is the year to introduce this festive treasure trove into your home.
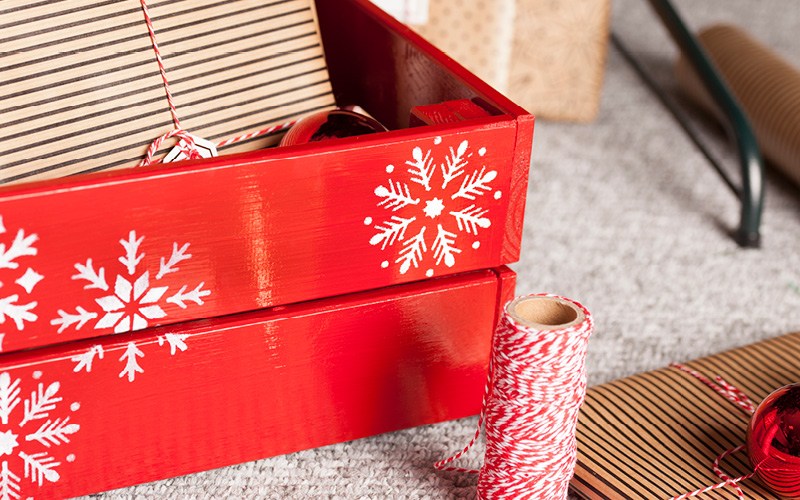
Follow our simple step-by-step guide to create your bespoke box. With a little time, some paint and stencils, you’re well on the way to making Christmas that extra bit special this year.
What you will need
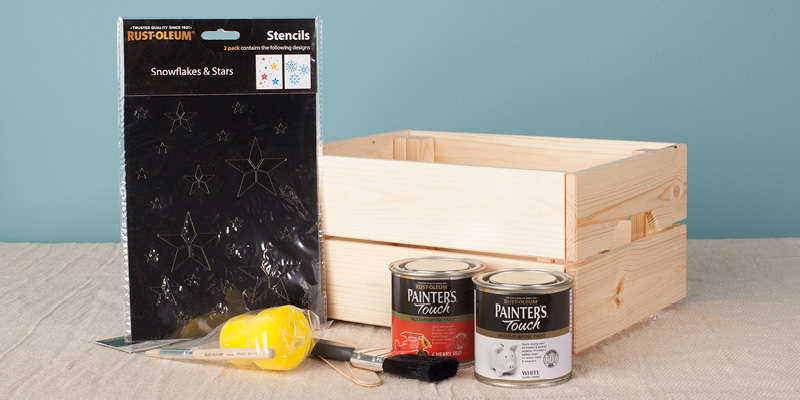
- 1 x wooden crate (we sourced ours from IKEA for £5)
- Medium paintbrush
- Rust-Oleum Stencil Brush & Sponge
- Rust-Oleum Stars & Snowflake Stencils
- Rust-Oleum Painter’s Touch – Cherry Red 250ml
- Rust-Oleum Painter’s Touch – White Gloss 250ml
Steps
Preparation
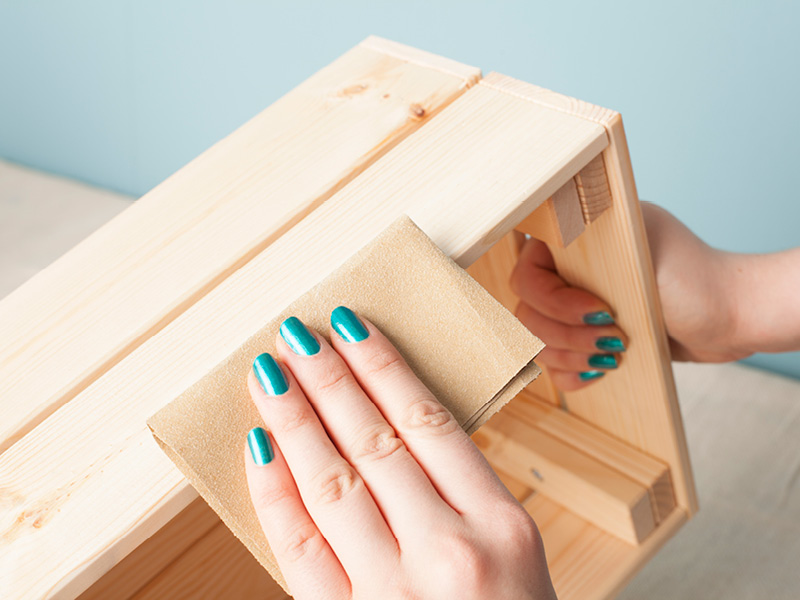
Prep the crate by sanding off any rough edges and wiping it down to remove dust or contaminants.
Toy Safe
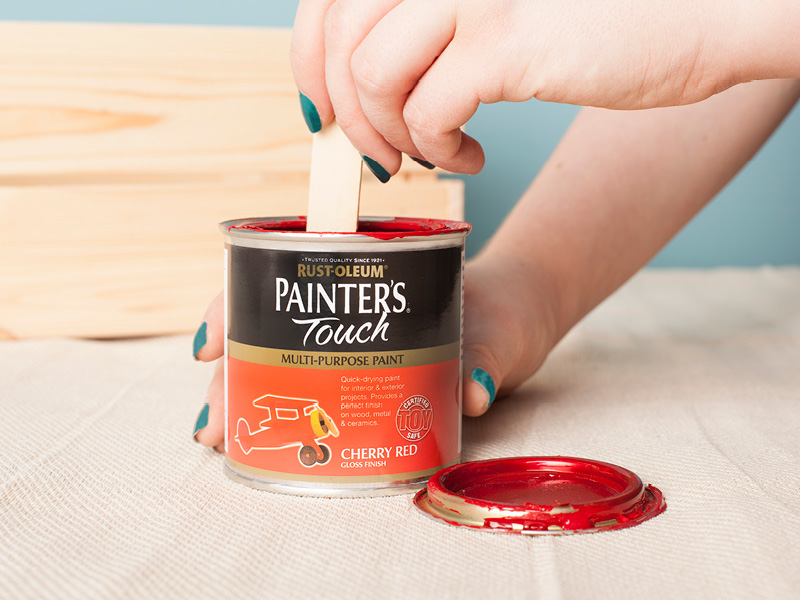
For the base colour Rust-Oleum Painter’s Touch in Cherry Red gloss has been selected. It’s certified Toy Safe, which means it’s non-harmful and can be used on all children’s toys and furniture. Upon opening, first give the paint a thorough stir.Painting
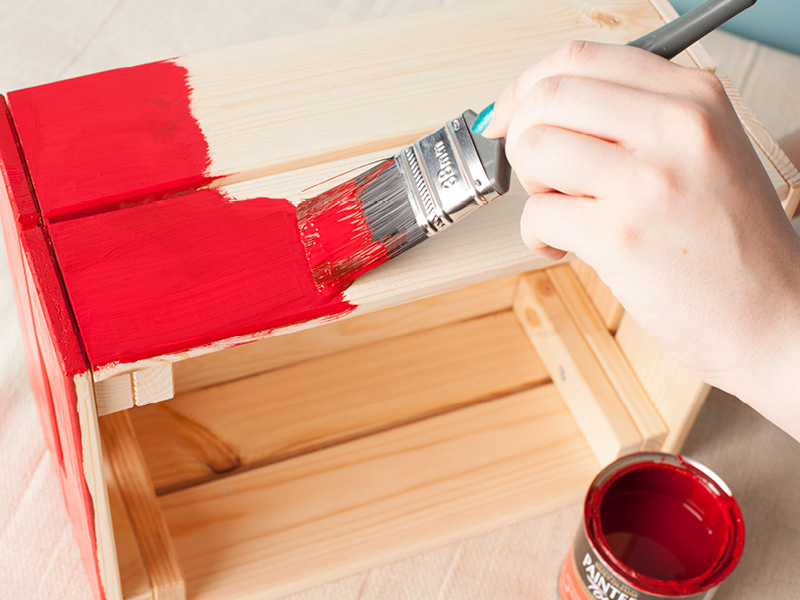
Using a medium sized paintbrush, give the crate two to three coats all over to achieve an even finish. Leave this to fully dry.Stencil Positioning
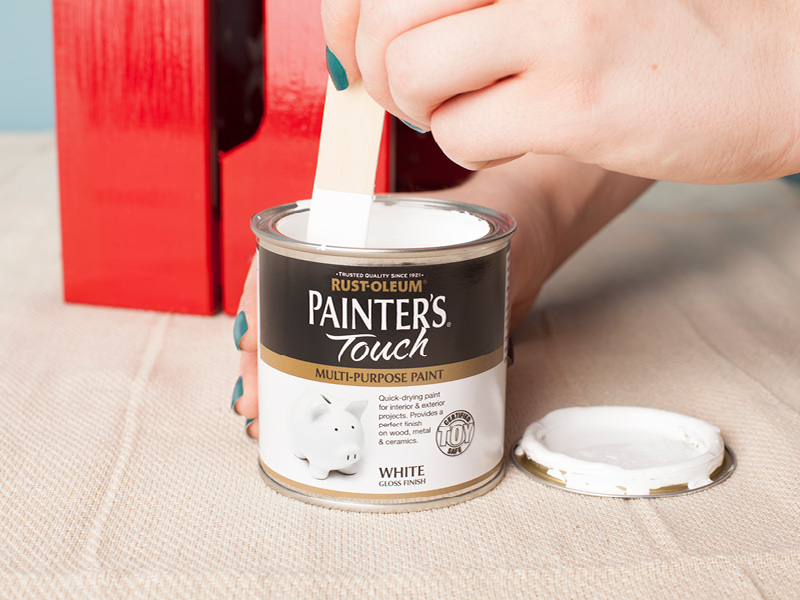
To create a contrast for the stenciling on the crate Rust-Oleum Painter’s Touch brush paint in White gloss was selected (also certified Toy Safe). After stirring place the snowflake stencil in position on the exterior of the crate.Stenciling
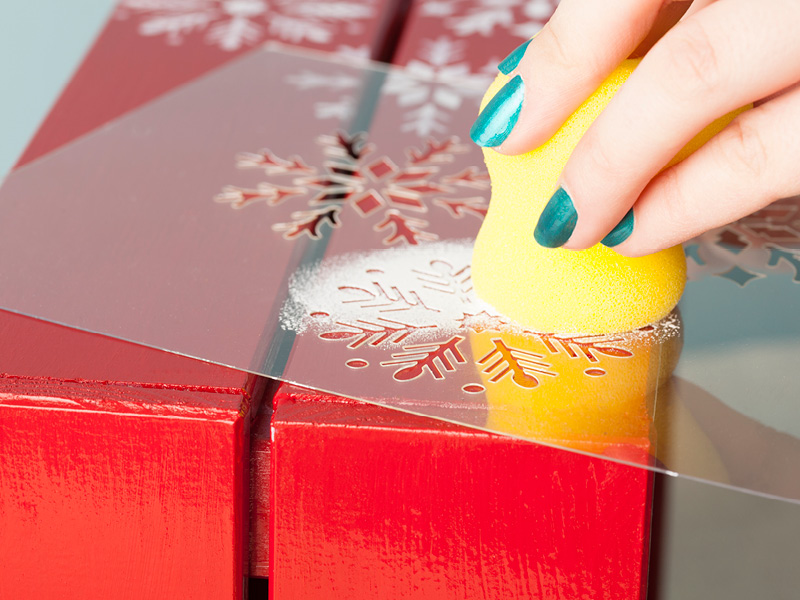
Using the stenciling sponge take a small amount of paint on to the sponge and dab over the cut out areas of the stencil. Once the desired effect has been achieved, carefully remove the stencil from the crate to reveal the snowflake shapes.
TIP: Use the paint lid as a palette so as to not overload the sponge with paint. Overloading will cause the paint to seep under the stencil and blur the shape.Additional Decoration
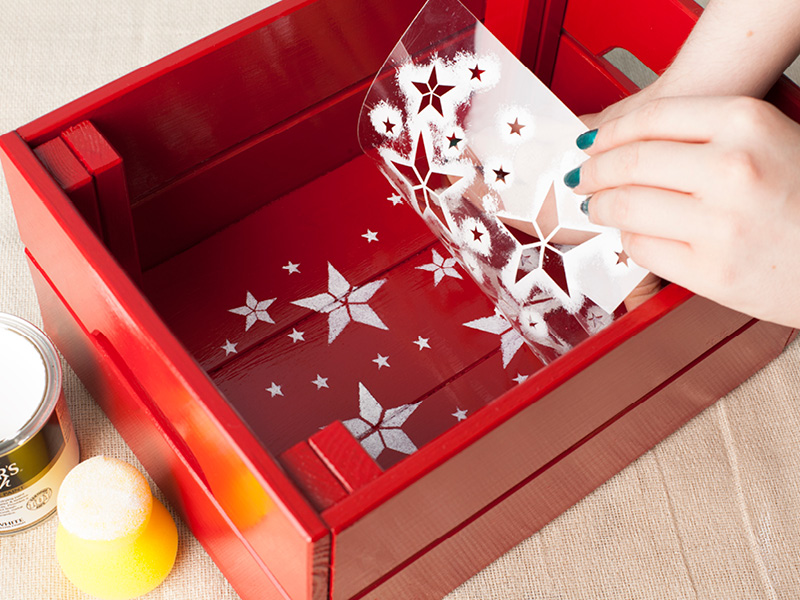
Using the same technique use the star stencil to decoration the interior base of the crate.Finishing Touches
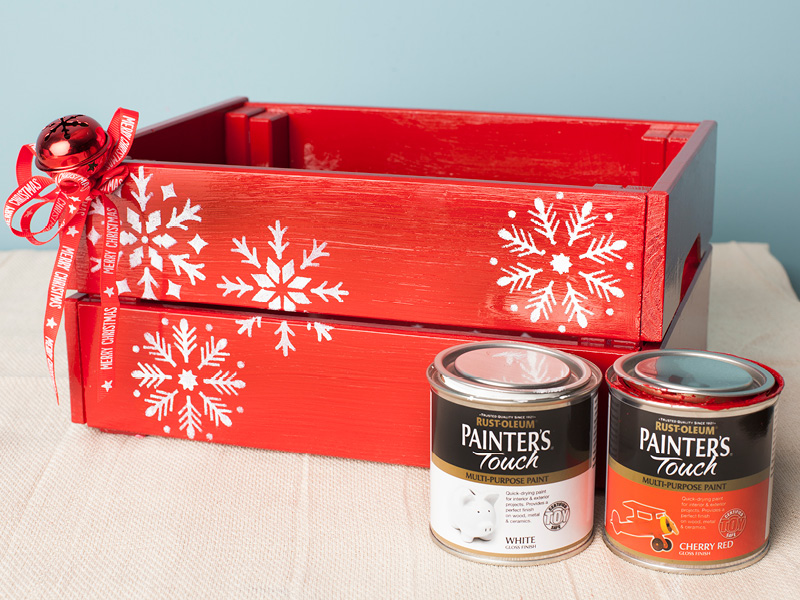
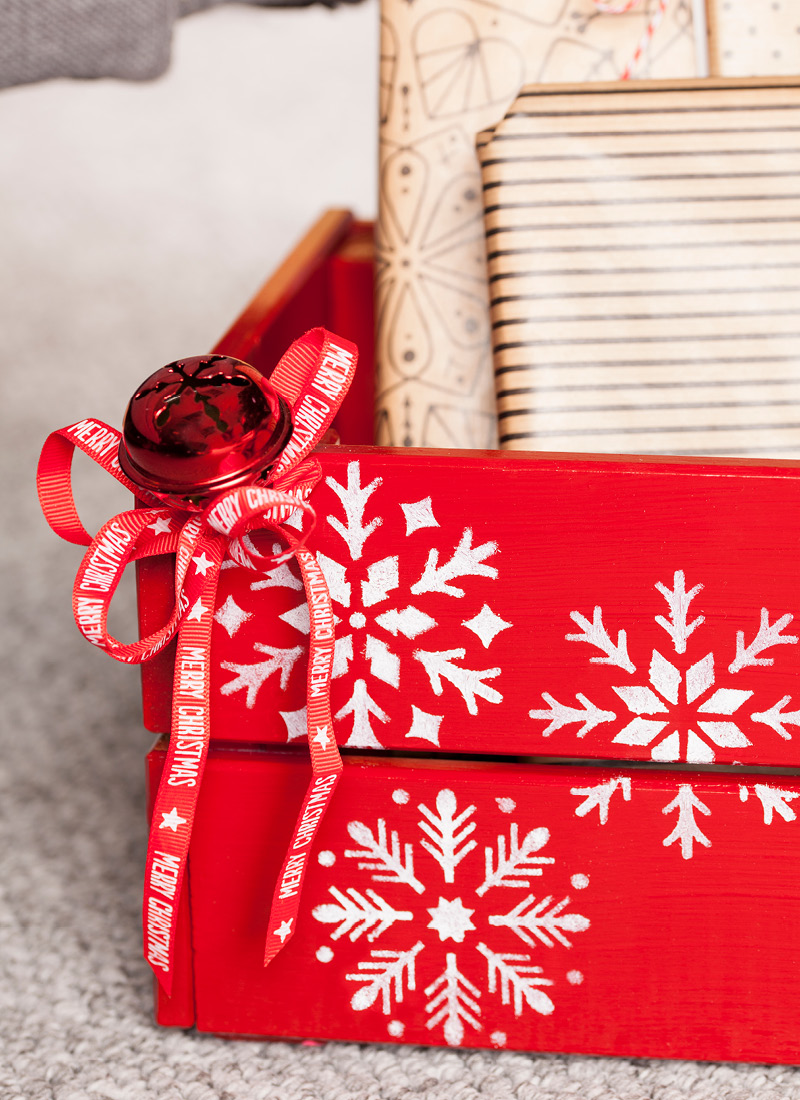
To complete, add the finishing touch with a red bell and ribbon and fill your crate with all the Christmas Eve goodies it can hold! Warning, you may need to find a padlock and quick.
