STYLE YOUR INSTAGRAM LIKE A PRO BLOGGER
 Credit: Love Daily Dose
Instagram has taken phone photography to a whole new level and transformed the way we share images. It’s a place where a single photo can spark a thousand likes and comments – it’s our very personal public gallery to showcase our lives.
More recently, the social platform has become the go-to for fashion, beauty and interior bloggers to share their perfectly styled shots. And while we happily swoon over them, it’s also fair to say most of us get image envy over the perfectly lit masterpieces that can transform a person’s social media into a hugely successful portfolio.
The good news is, styling your phone photography like the pros is easier than you think, but don’t just take it from us though! We’ve asked the expert bloggers themselves to exclusively reveal their top tips and secrets, so we can all get a little closer to the pros. Check out what they have to say below plus our simple steps and you too can achieve Insta-perfection:
Tell a story
Before taking your picture of an object, think about what you can prop it with. Objects that tell a story always make for a more interesting visual. A good example above is from blogger, Tereza Kohutova aka Cityscape Bliss, where she’s added additional props to the main focus and created a scene with greater interest and meaning.
Bird’s-eye view
Otherwise known as ‘flat lays’, taking shots from above is hugely popular among bloggers and we admit we’re huge fans too. A big benefit here is the elimination of unwanted shadows to save a load of time on repositioning. Check out these shots by blogger, Kate La Vie, who has beautifully shot a make-up arrangement using this technique.
Backgrounds and textures
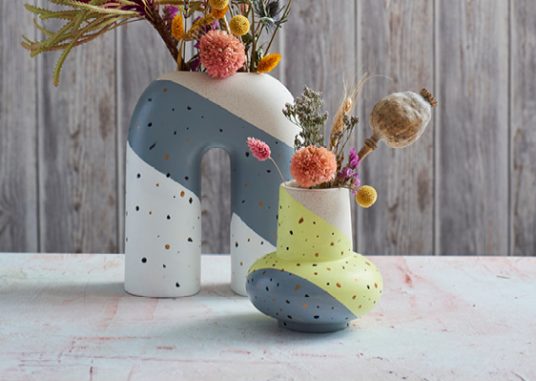
When styling your image always think about the backdrop. An interesting colourful or textured background can make all the difference to the look and feel in comparison to a stark white one. Blogger, Helen Anderson, executes this perfectly in her fashion shots, offsetting her outfits and accessories with cool bright textured backgrounds.
Bright colours
If you want to grab the attention of those speedy scrollers, bright colours will always do the trick. Standing out on the screen against other posts definitely makes people stop and take notice. This is especially useful, when like blogger, Claire aka Claireabellemakes, you want to bring a certain post to the attention of your followers.
Natural light
The key to professional looking photography is lighting but this doesn’t have to mean full-on professional kit. You can achieve good lighting by ensuring its always natural. Do your photography mid-morning in well-lit rooms to make your images look professional. Also, start as you mean to go on and keep the lighting consistent from picture to picture so they look bright and of a similar tone on Instagram’s grid display. Blogger, Kimberly Duran aka Swoonworthy, has executed this perfectly throughout her interior shots.
Angle it
Don’t be afraid to angle your shots and even cut some of the subject off. This technique creates interest, as you don’t always need to see the whole of an item. Blogger, Victoria aka Apartment Number 4, has achieved this with great success in the images above where she’s positioned the subjects of the photos slightly off screen, to make them even more of a focal point.
Groups of three
When staging and arranging objects together, the rule of three is a useful tool. In interior design, when objects are arranged in groups of odd numbers it’s said to make things look more attractive and effective. As in the picture above by blogger, Victoria Jackson aka Apartment Number 4, who has arranged objects into odd numbers throughout her photography to great effect.
Be sure to share your perfectly styled photos with us on Instagram, Facebook and Twitter.


