HOW TO MAKE A METAL FILING CABINET FABULOUS
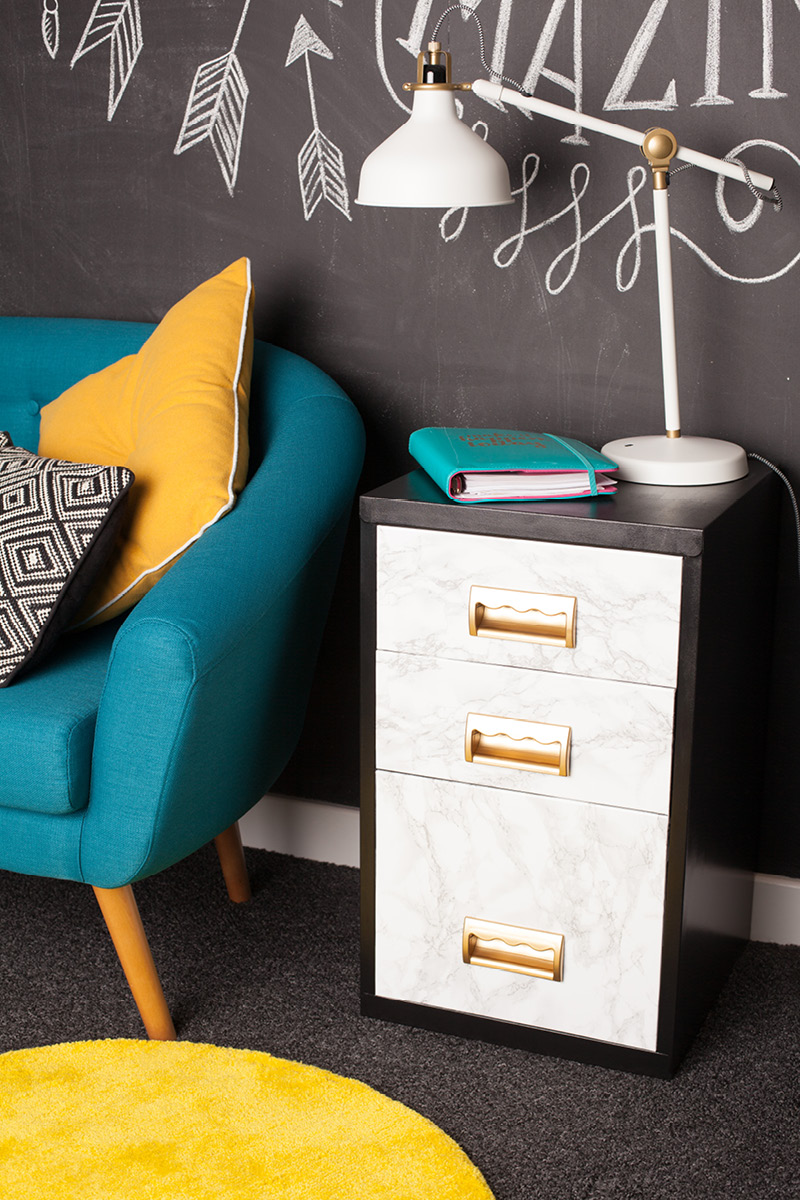
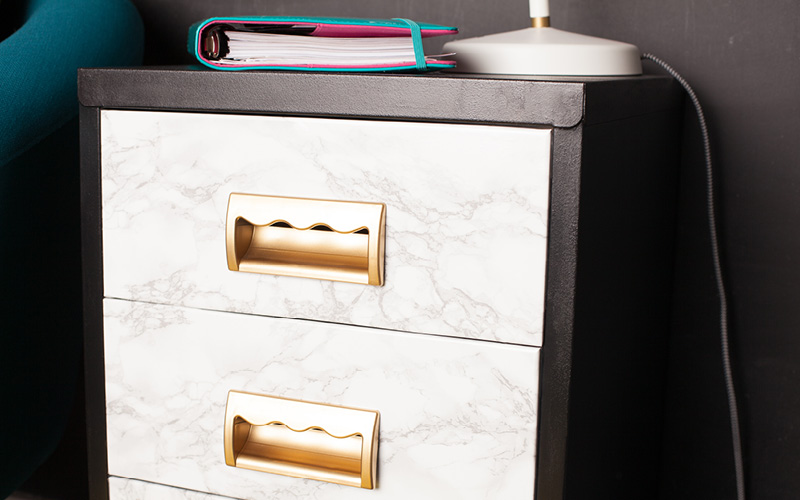
From humdrum to fashion forward, we’ve put this filing cabinet through a Make It Yours makeover and given it a new lease of life.
Although we’re talking office furniture here, that doesn’t have to mean plain and dull. We think there’s nothing wrong with a little bit of style in the workplace and hope you agree.
As you well know, the other option and one we love, is to break the mould and transform a bog-standard item into a piece you’d perhaps want to put where you’d least expect. For example, we’re going to show you how a filing cabinet might also become the next beautiful side table in your living room.
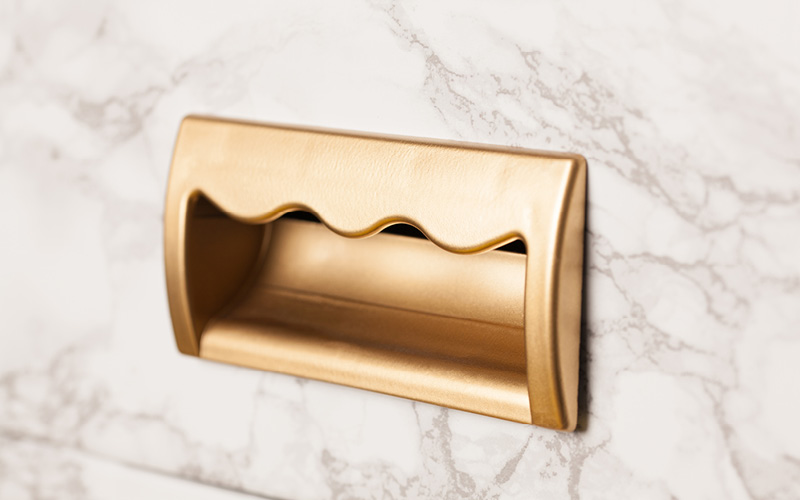
We’ve followed the latest trends in fashion and paired marble with metallic to create a stunning contrast. Painting the base black adds an extra edgy look.
If you want to find out how to transform your own filing cabinet, follow the steps below to reach upcycle utopia.
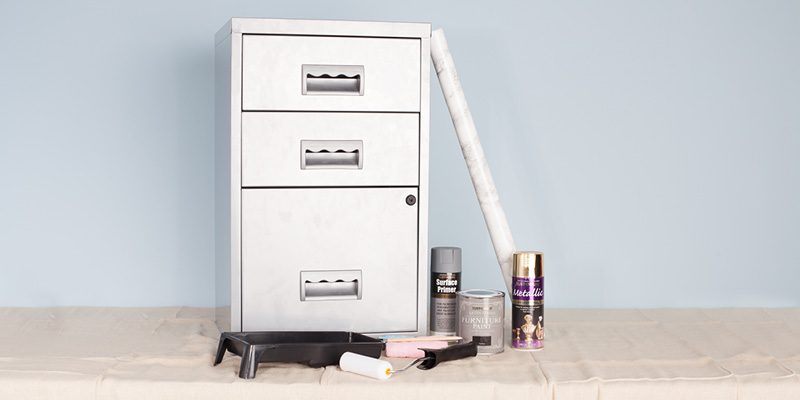
What you will need
- Metal filing cabinet
- Marble effect sticky back plastic
- Rust-Oleum Surface Primer – Grey
- Rust-Oleum Satin Finish Furniture Paint – Carbon
- Rust-Oleum Metallic – Bright Gold
- Foam roller and paint tray
- Dust sheet or newspapers
- Scissors
- Screw driver
- Pencil
- Cloth
Steps
DISASSEMBLE
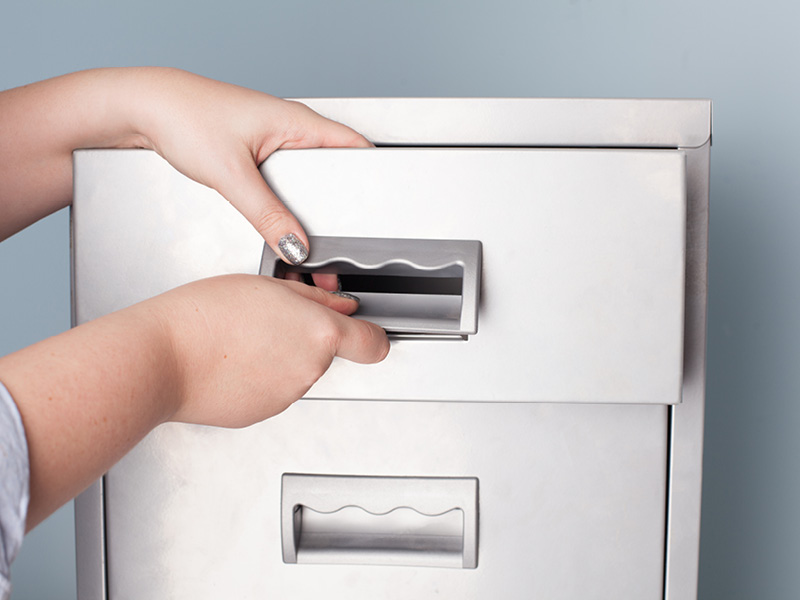
If you can, start by removing the drawers where possible. Then remove the handles; in this case the handles popped out, however some may need to be unscrewed.
CLEAN
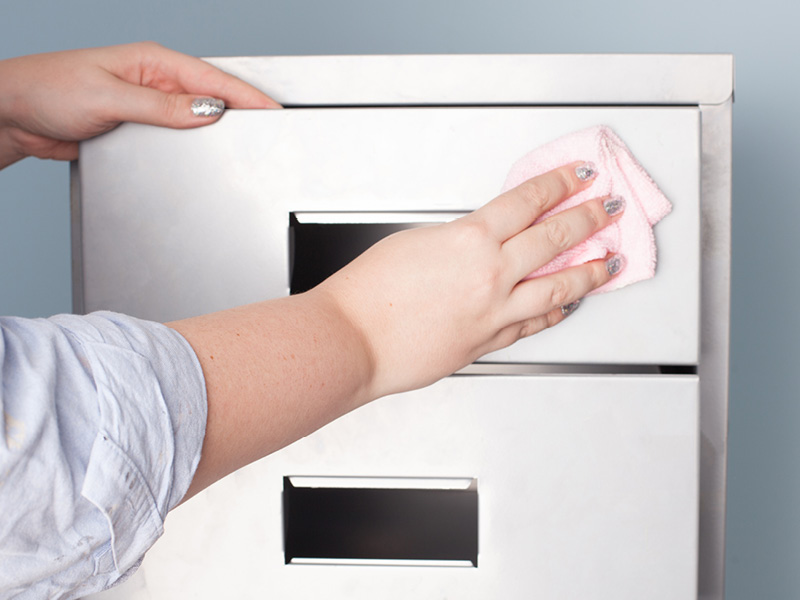
Wipe all the surfaces down with a damp cloth to ensure the cabinet is free from dust and grease.
Tip: For the best results when cleaning, use Zinsser Krud Kutter. This will ensure your piece is free from contaminates and provide a good surface to paint.PAINT
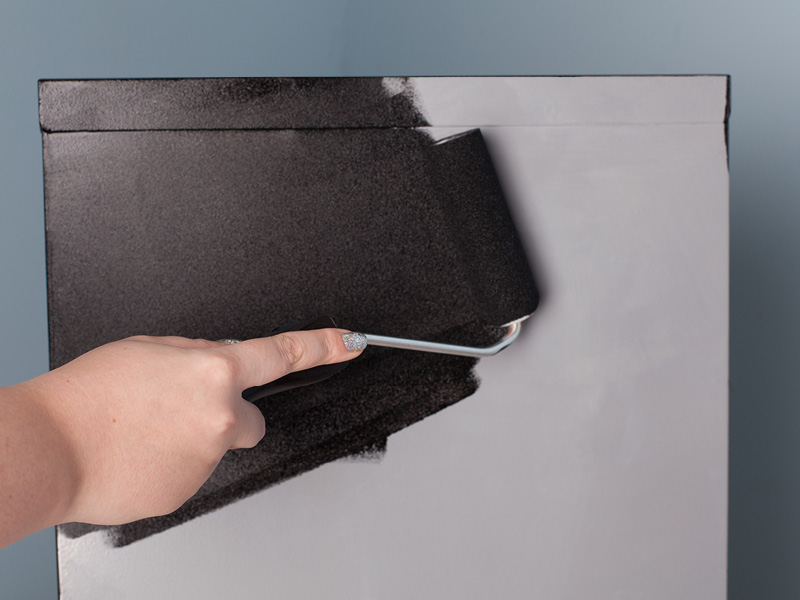
Open your can of Rust-Oleum Satin Finish Furniture Paint in Carbon and give it a good stir. Then, pour a small amount into a paint tray, load up the foam roller and begin to paint the outside frame of the filing cabinet.
Once the first coat is dry, apply an additional second coat to achieve an even finish.
DRAWER FRONTS
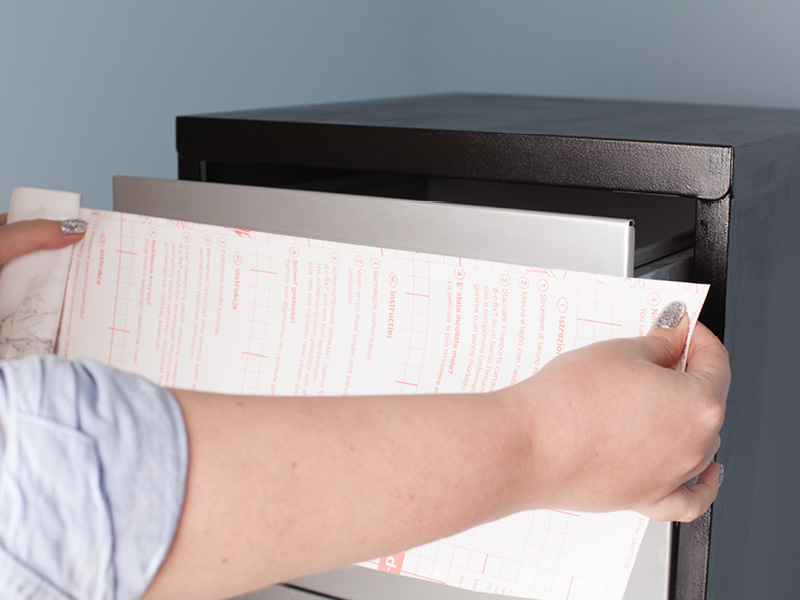
If your drawers can’t be removed, like ours, take your marble sticky back plastic and measure up against the drawer how much you’ll need. Give yourself around an inch extra on all four sides and mark with a pencil.
If you’re able to remove the drawer, roll out the marble sticky back plastic onto a hard, flat surface and place the first drawer face down onto it, positioning it in between the grid guidelines. Mark with a pencil round all four sides, again giving an inch from the edge of the drawer – this will form the cutting guideline.
CUT
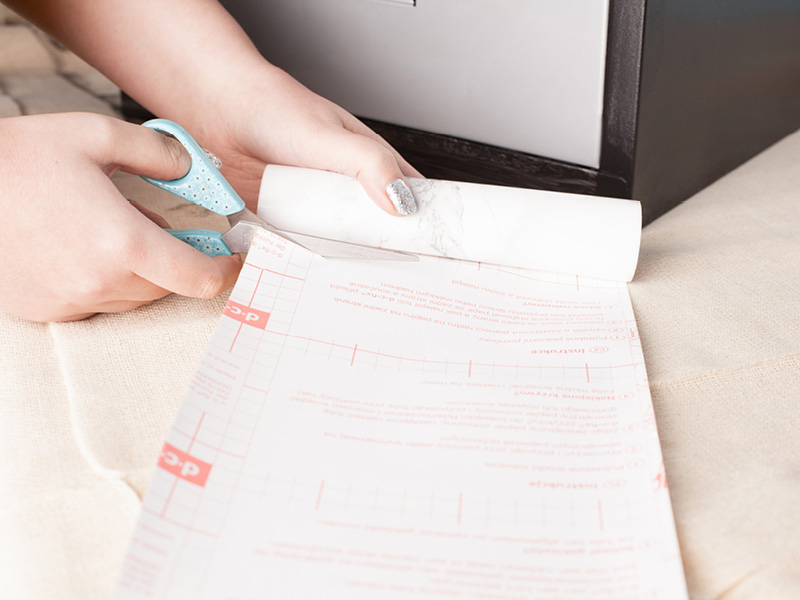
Follow your pencil marks and cut out the shape of the drawer front using scissors.
APPLICATION
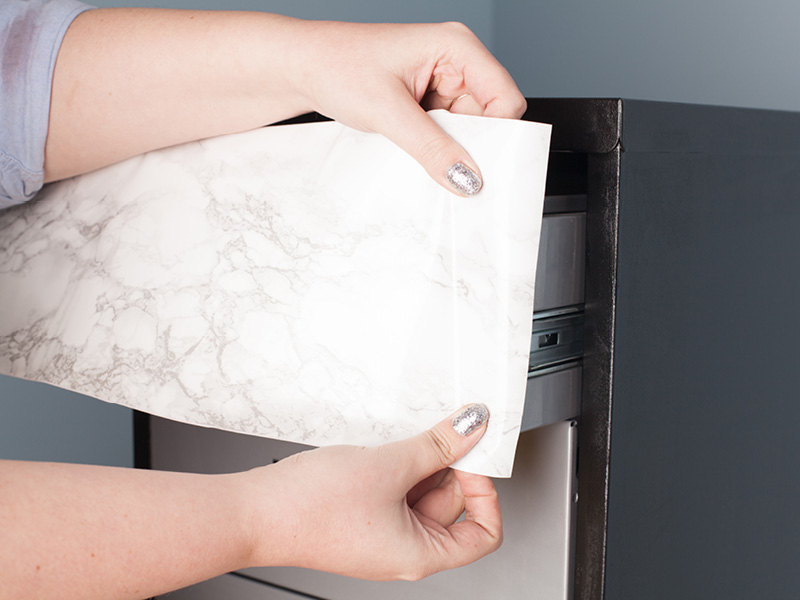
Peel the backing paper away slightly at one side of the marble sticky back plastic and apply to the corresponding edge of the drawer front.
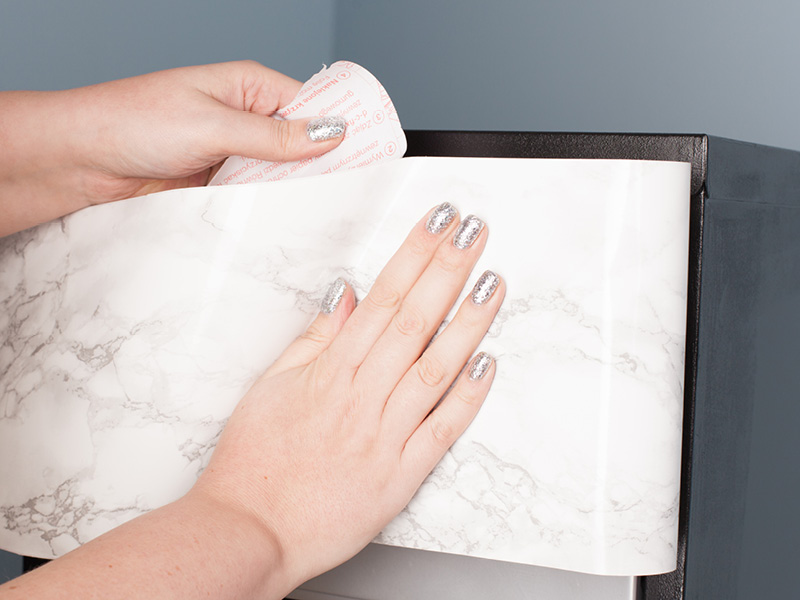
Once this is securely applied, start to pull the backing paper away slowly, smoothing as you go.
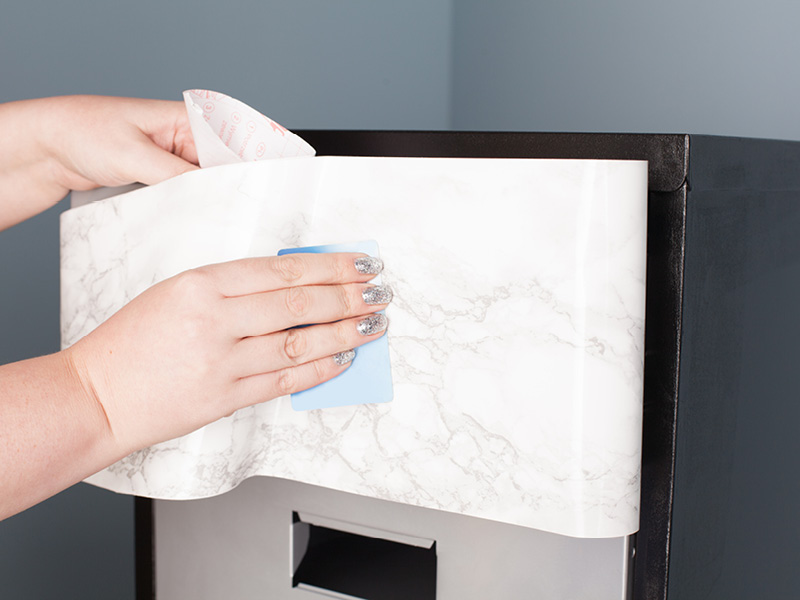
Tip: For best results use a card to smooth the plastic out, this will prevent air bubbles from occurring.
EDGES
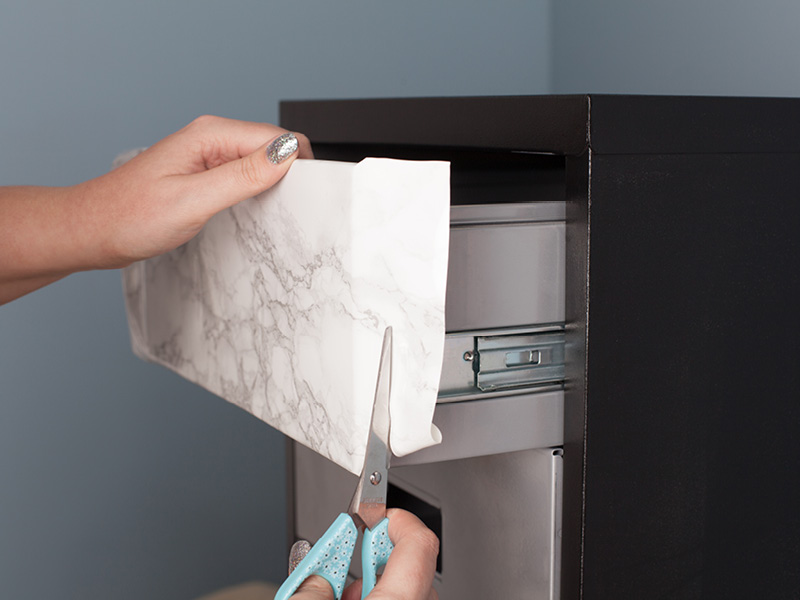
Once the drawer front is covered, turn your attention to the edges. Carefully fold these over, making neat folds at the corners and trim the excess. Repeat this process for the two remaining drawers.
Tip: If you find you have some stray bubbles in the plastic, take a pin and insert it into the bubble to release the air. Use the card then smooth the bubble out.CUT HOLE FOR HANDLES

In preparation for reattaching the handles, use your scissors to create a cross where the handle area is. Then carefully fold the sticky back plastic over so your handles can be fitted.
FINISHING TOUCHES

Place the handles onto a dust sheet or newspaper and apply a coat of Rust-Oleum Surface Primer to prepare the surface. Once this has dried, apply two coats of Rust-Oleum Metallic Bright Gold and leave to dry in between coats.
ATTACH HANDLES

Re-attach the handles to each drawer and place the drawers back into the frame.
FINISHING TOUCHES

Fill to the brim with stationery goodies or magazines and style accordingly. Who said that office furniture couldn’t be beautiful?
