Proper Preparation: 3 Things You Need To Know
Proper planning and preparation is key when tackling any DIY job. But what materials should you be using and when?
Before you get started on your project take a quick read through these top three tips designed to have you upcycle ready in no time…
1. How to clean and sand properly
With any paint project, before you get started make sure the surface of the item you’re painting is dry and free from any contaminants such as dust, oil or wax. It’s recommended that you lightly sand most surfaces with a fine-grit sandpaper (360 to 600 grit is advised) followed by a wipe down with a clean, damp cloth to pick up any dust. Then, make sure it is fully dry before moving on the the next step.
If the surface has previously been painted, you don’t have to worry about taking it back to the bare wood, just sand it enough to remove the top layer. This will create a key (rough surface) and the paint adhesion will be a lot stronger.

2. When to use primer
The job of a primer is to prevent the paint from reacting to surface contaminants or from being absorbed into the surface of your furniture, ensuring you have the desired finish.
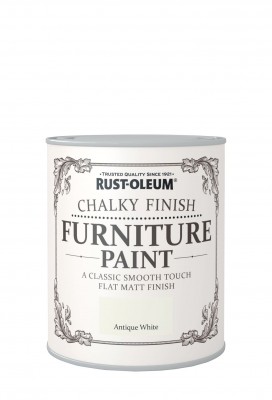
The type of primer you use depends on your surface and the paint you are using. There are some paints such as Rust-Oleum Chalky Finish Furniture Paint or Rust-Oleum Universal Spray Paint, which don’t require any priming, so always check the instructions on the label before you get down to it.
There are different primers which are designed specifically for wood, plastic, metal or ceramic surfaces. Again, always check the label first.
3. When to use wire wool
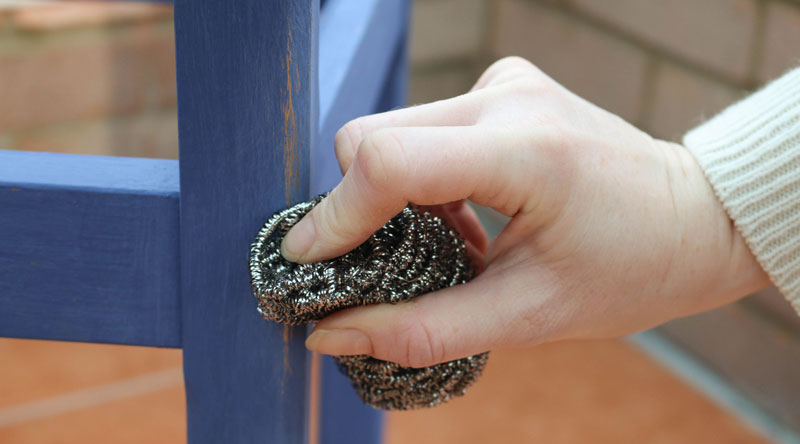
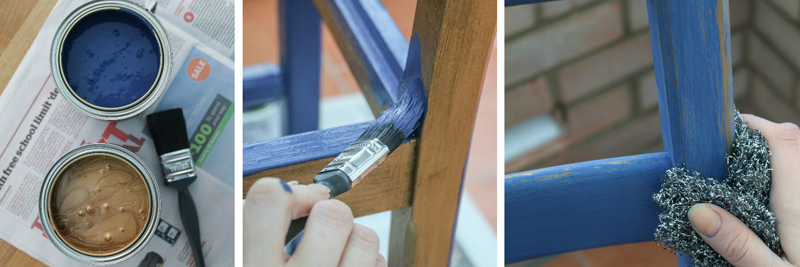
If you suspect the surface may be contaminated with varnish or other treatments (commonly the case with older, vintage items) then use wire wool and white spirit to clean it before lightly sanding and wiping down.
The wool’s very fine strands of steel gently cut into the surface, removing an ultra-thin layer. The main advantage of using steel wool rather than sandpaper is that the steel wool can compress to almost any shape for those hard-to-reach places, as well as on beveled edges or moldings.
