How to Create a Chalkboard Planner
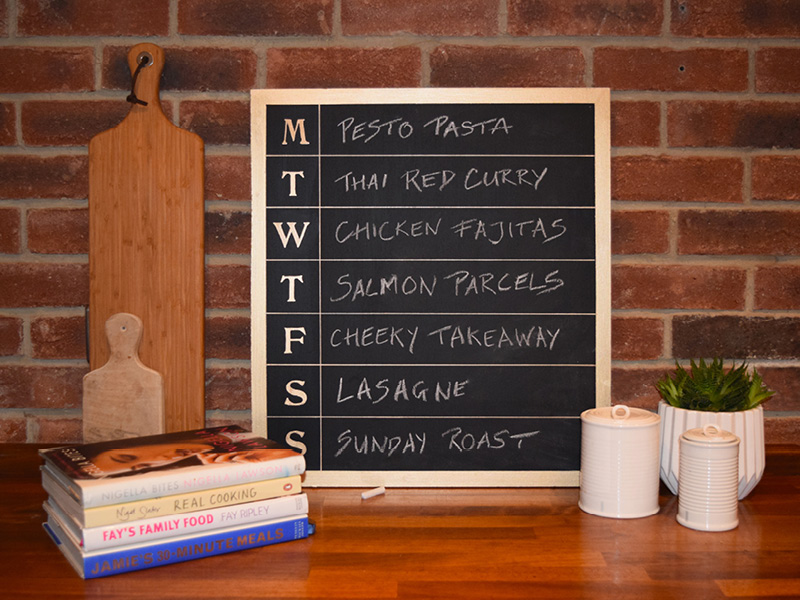 See how All Round Creative Junkie, Cheryl Lumley transforms a piece of MDF into a beautiful chalkboard planner in just 5 easy steps!
“I am quite possibly the least organised person I know. I’m always doing things last minute, panic buying, and generally running round like a lunatic at all times. I’ve decided that next year I really do have to man up and get organised.
We all have such busy lives with working, running a house, washing, ironing, cleaning, school homework, children’s sports classes. There is just so much going on, it’s a wonder we actually have time to eat at all. As a start to the New Year and a new organised me, I decided I’d start with meal planning. Well, we have to start somewhere and I’m hoping it will spur me on to be more organised with everything else.
I’m sure my friends think I’m nuts but I tend to have all sorts of wood offcuts around the house, I had a good sized piece of MDF left over from a wardrobe project so this was going to be my meal planner. I didn’t want this to be boring either so…”
What you will need
- Wood offcut or an old picture frame
- Rust-Oleum Chalkboard Paint in Black
- Rust-Oleum Metallic Finish Furniture Paint in Gold
- Rust-Oleum Metallic Leafing Pen in Gold
Steps
Paint the Chalkboard
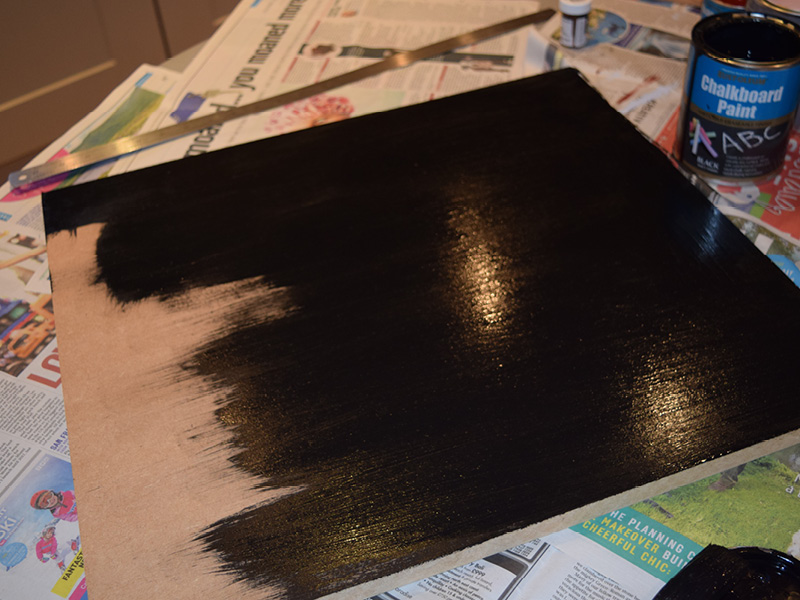
Make sure the MDF is clean and free from dust, then paint on two coats of Rust-Oleum Chalkboard Paint, I used Black but you could use Red, Blue, Pink or even Clear if you wanted a different colour to match your room scheme.
Top Tip: A light sand in between coats will give you an extra smooth surface but it’s not essential.
Paint the Frame
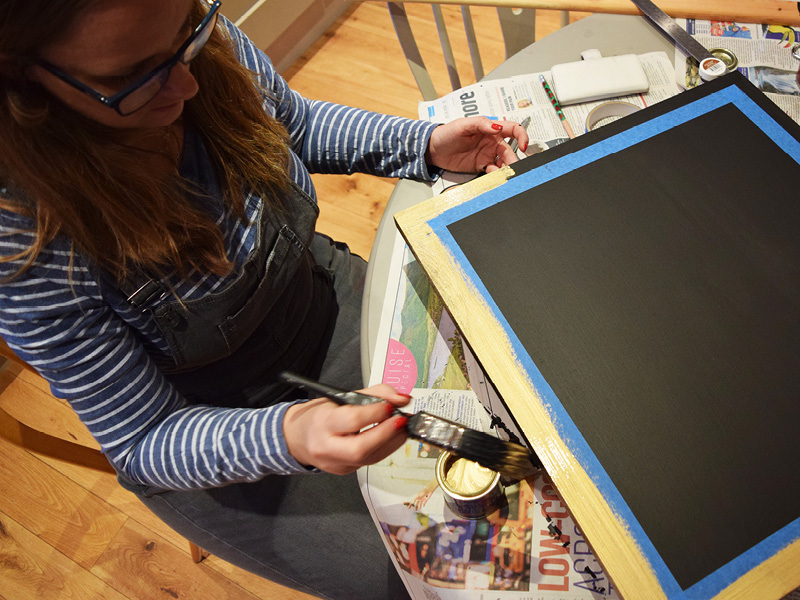
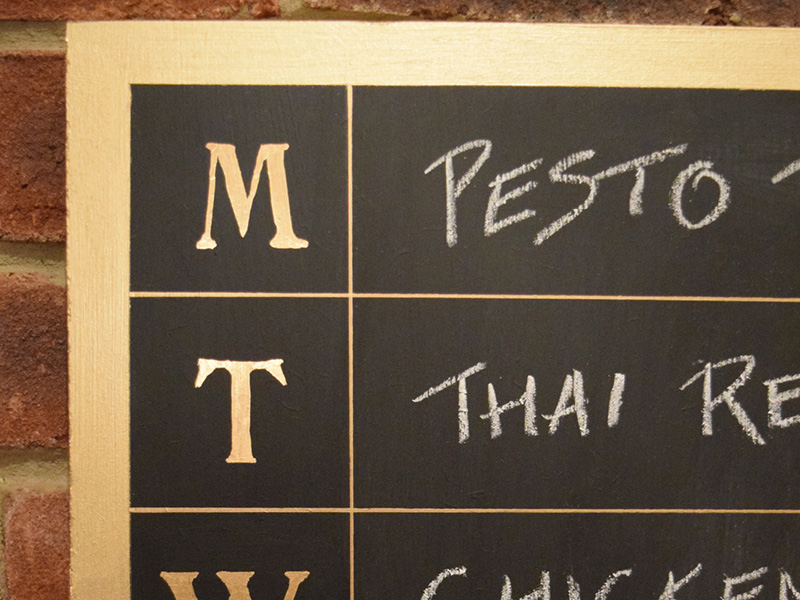
Once the paint is fully dry, mask off a 2cm border with painters tape, then paint two coats of Rust-Oleum Metallic Finish Furniture Paint in Gold. Before the second coat is fully dry remove the painters tape gently.
Top Tip: If you leave it to dry too much it may crack when you take it off. You can also use masking tape, but painters tape will give a much neater line. I’ve learned that through some bad experiences!
Draw in Dividing Lines
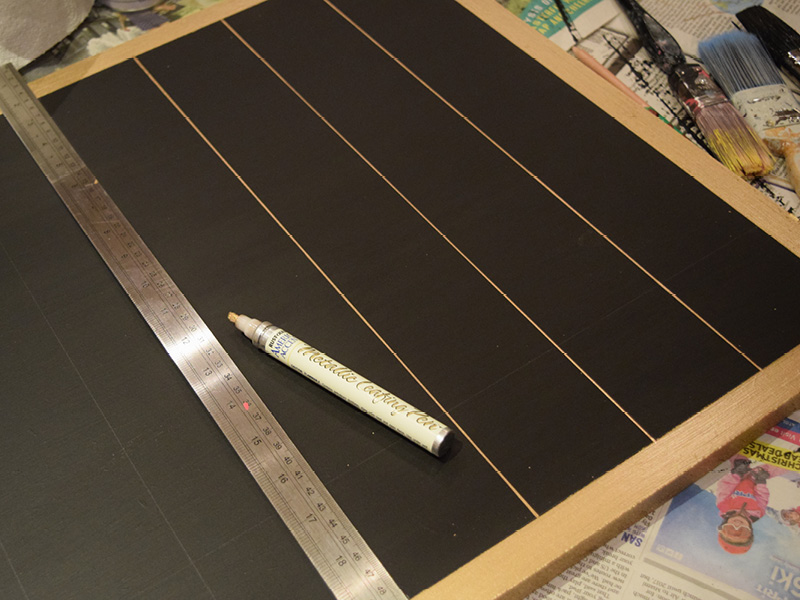
Measure the space you have and divide it by 7 to give you the line split. Measure and mark out in pencil where you need to draw your lines, then go over then carefully with the Rust-Oleum Metallic Leafing Pen, I used Gold.
Add Days of the Week
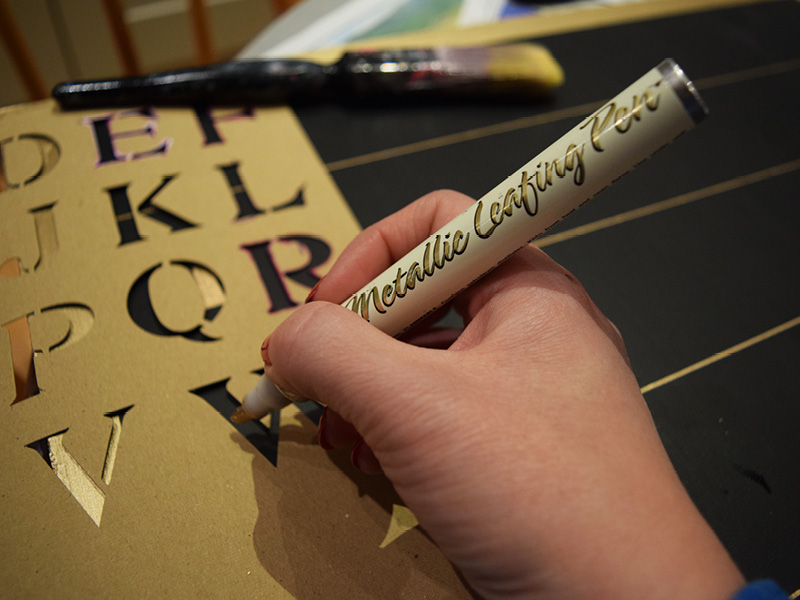
Stencil the days of the week on each row using a Rust-Oleum Metallic Leafing Pen. I used a stencil that I had but you could do these freehand if you don’t have one. Then draw a vertical line to the side of the letters to define the chalk-able area.
Get meal planning!
