This website uses cookies and other tracking technologies (also known as pixels or beacons) to aid your experience (such as viewing videos), as well as “performance cookies” to analyze your use of this website and to assist with marketing efforts. If you click the "Accept All Cookies" button or continue navigating the website, you agree to having those first and third-party cookies set on your device. If you do not wish to accept cookies from this website, you can choose to not allow cookies from this website by updating your browser preferences. For more information on how we use Cookies, please read our privacy policy. Accept All Cookies

Menu

toggle menu
  • Home
  • Products
  • Inspiration
  • Lifestyle
  • How-to
  • Competition
  • Latest
  • About
  • Stockists
  • Contact
Home » How-To » How to create snowflake window decals
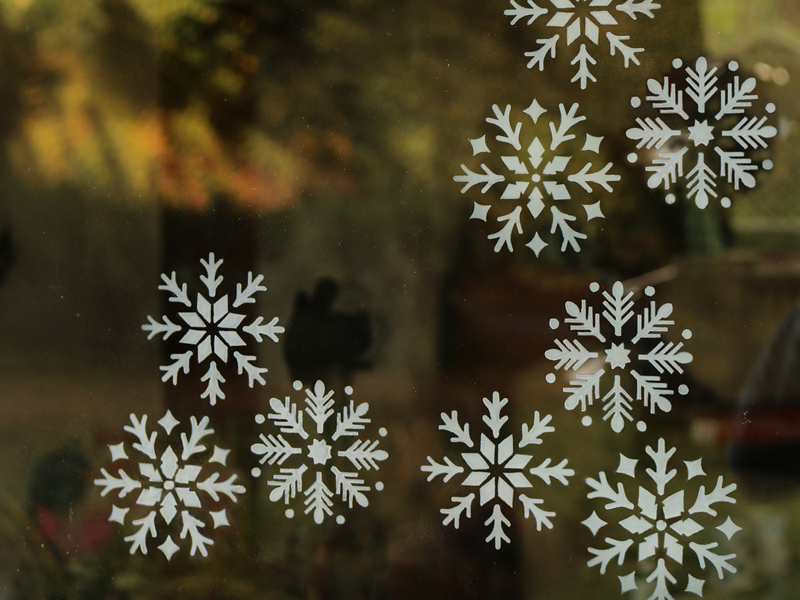
How to create snowflake window decals

snowflake-stencil-design

THESE SNOWFLAKE WINDOW DECALS ARE SO EASY TO CREATE AND THEY END UP LOOKING SO PRETTY. BLOGGER CASSIE FAIRY SHOWS HOW EASY IT IS TO ADD FESTIVE CHARM TO YOUR HOME WITHOUT THE FEAR OF TAKING DOWN YOUR DECORATIONS COME JANUARY.

If flashy outdoor decorations aren’t for you but you still want to add a festive touch to your home for passers-by to ogle, festive window decals are a classy, inexpensive option.

All you need to do is choose your preferred stencil shapes and grab a can of Rust-Oleum Peelable Spray Paint in White or Silver. What’s even better is any excess spray mist adds a frosty touch to the design.

Here’s how to get the look this Christmas…

What you will need

  • Rust-Oleum Snowflake and Stars Stencil
  • Rust-Oleum Peelable Spray Paint – White
  • Rust-Oleum Low Tack Adhesive
  • A cloth

Steps

  1. PREPARE

    Thoroughly clean and dry the surface you’re applying the stencil to – in this case, we’re decorating a window for Christmas. We used the Rust-Oleum Snowflake and Stars Stencil pack.

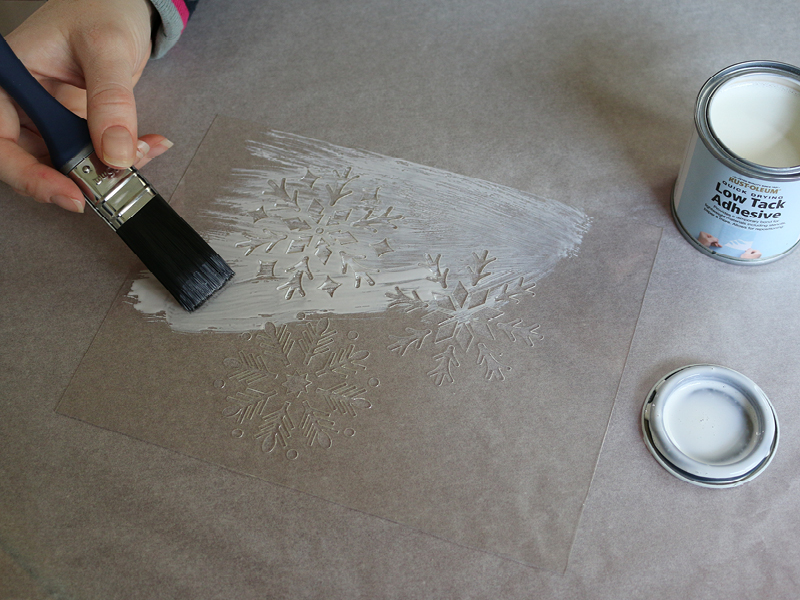
    Brush a thin layer of Rust-Oleum Low Tack Adhesive all over the stencil and allow to dry a little so that it becomes tacky and clear.
     

    snowflake-stencil


  2. STENCIL APPLICATION

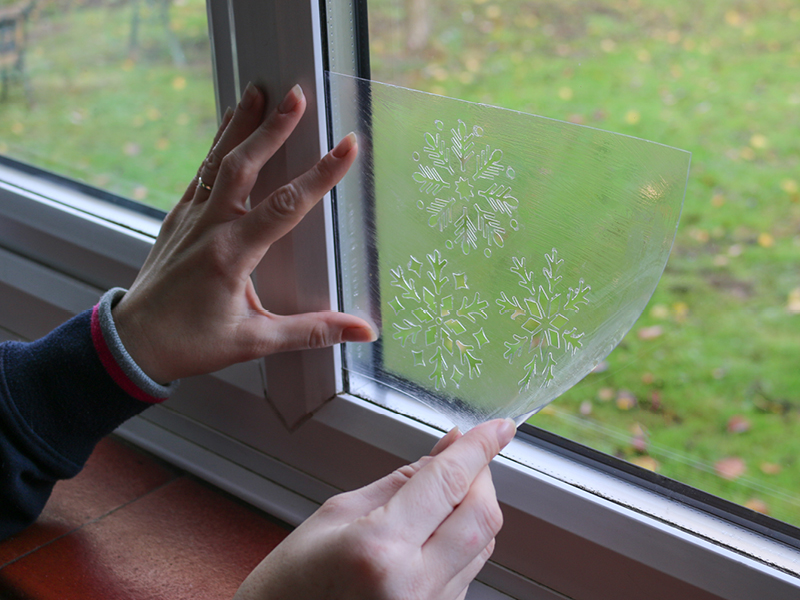
    Apply the stencil to the window and press to adhere.
     

    stencil-application

  3. SPRAY THE DESIGN

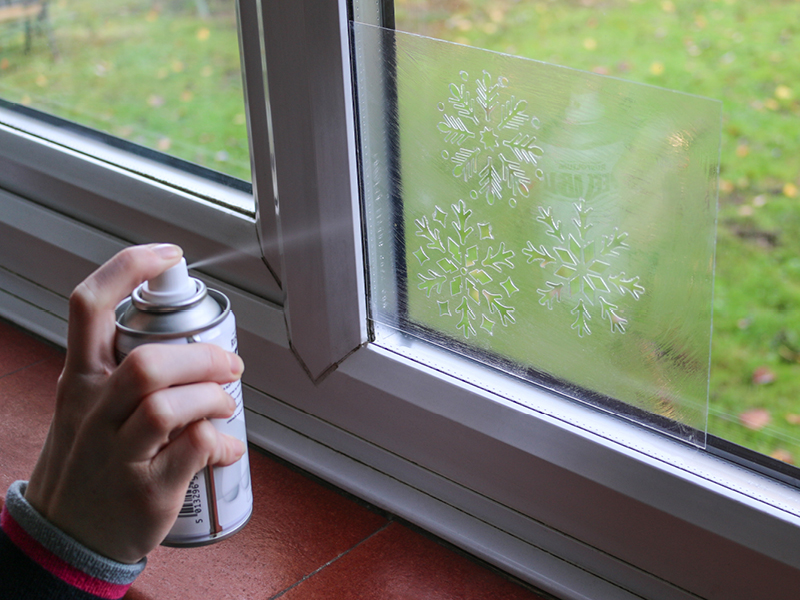
    Use Rust-Oleum Peelable paint in white or silver to spray paint the stencil design onto the window.
     

    spray-paint-stencil

  4. ALLOW TO DRY

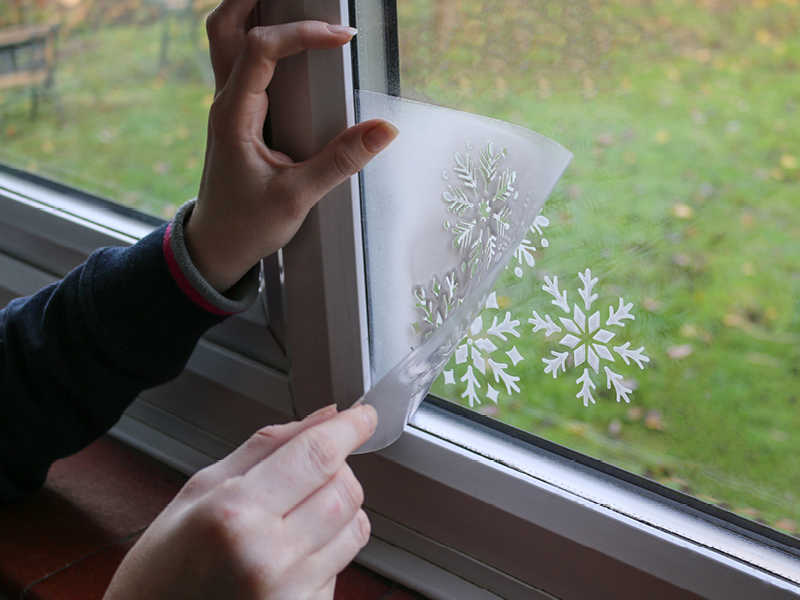
    Allow to dry before carefully peeling off the stencil from the corner. If any of the Peelable Paint has sprayed over the edge of the stencil you can easily wipe it away with a cloth.
     

    remove-stencil


  5. ADD MORE

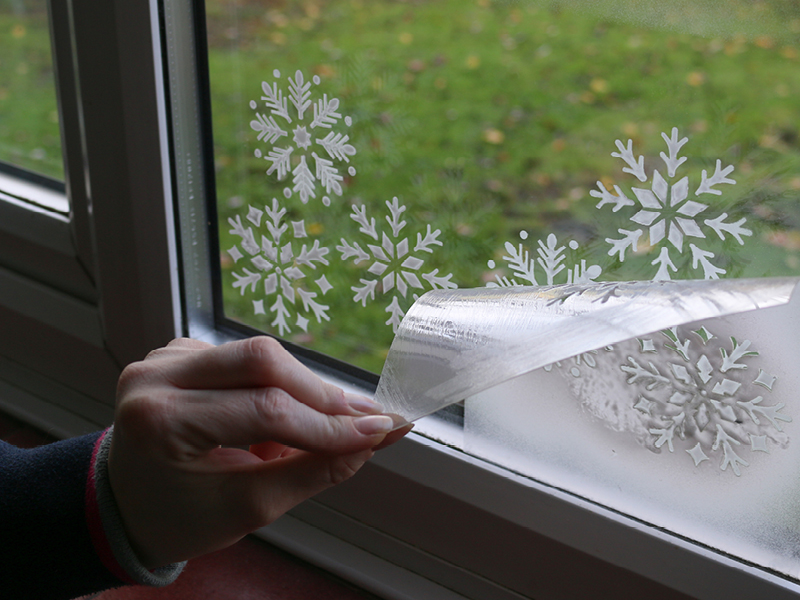
    The stencil will still be tacky so you can reposition it on the window and spray on more snowflakes.
     

    additional-snowflakes

  6. ENJOY

    Enjoy the snowflake design for the festive period and then simply peel off the paint when taking down your decorations after Christmas.
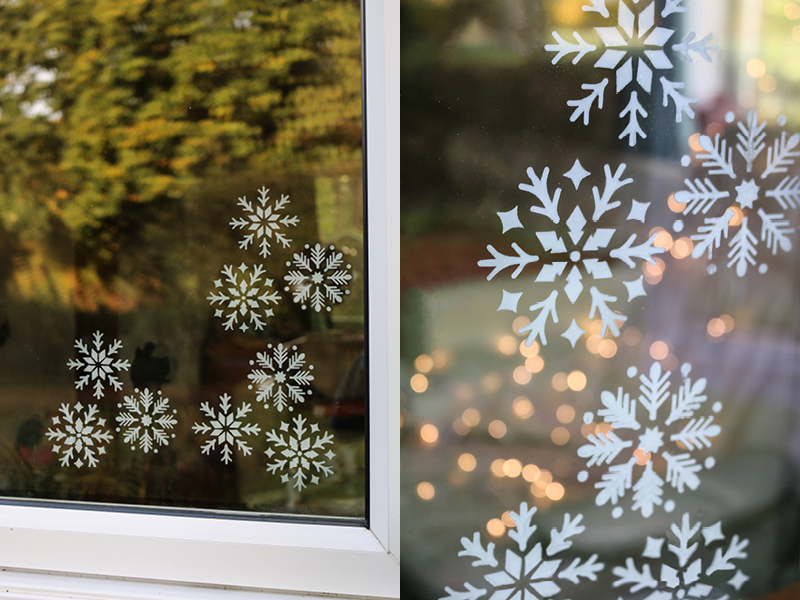
     

    snowflake-window

Sign up for our newsletter and get a free book of ideas.

Thanks for signing up, please Click Here to view the previous issues.

Share this

How-Tos

Metallic-Ikea-Table-Hack-Large-Thumbnail

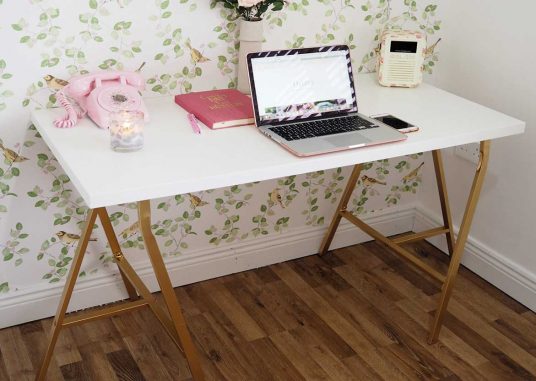
Metallic Gold Ikea Desk Hack

More >

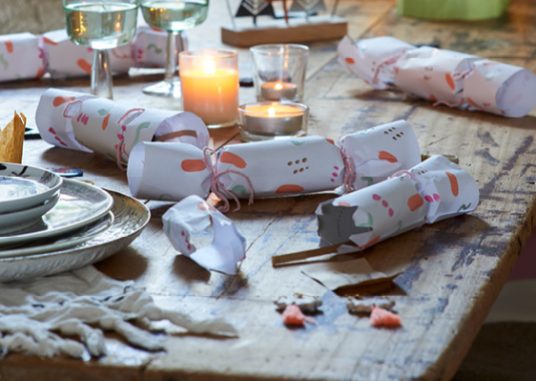
ChristmasCrackers-2020-LargeThumbnail

ECO CHRISTMAS CRACKERS

More >

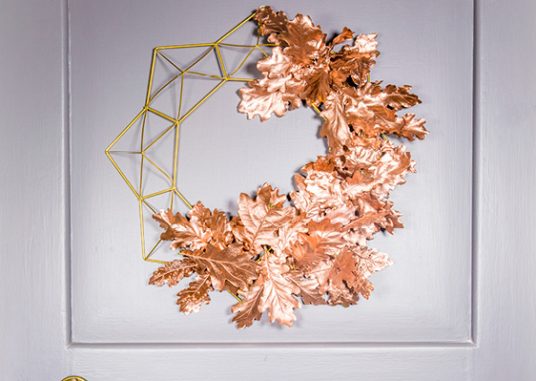
WreathLargeThumbnail

DIY REUSABLE WREATH

More >

LargeThumbnail-Wreath2019

DIY FESTIVE STAR WALL HANGING

More >

View all

Inspiration

SIX UNIQUE AND UNUSUAL CHRISTMAS WREATHS

Christmas can be filled with clichés if you’re not careful. We find the best way to get into the ...

More >

MAKE YOUR OWN AMAZING ADVENT CALENDARS

Of course, we admit to doing exactly the same, so we’ve prepared the perfect advent ...

More >

BE MERRY WITH A MONOCHROME CHRISTMAS TABLE

More >

HANDMADE CHRISTMAS: EASY TO MAKE DIY GIFTS

"Toys, books, clothes, smellies, music and of course socks are pretty much the norm in ...

More >

View all

Lifestyle

STYLE YOUR INSTAGRAM LIKE A PRO BLOGGER

STYLE YOUR INSTAGRAM LIKE A PRO BLOGGER

Instagram has taken phone photography to a whole new level and transformed the way we ...

More >

Behind The Brush: Meet Monica Welburn Of The Elgin Avenue

Behind The Brush: Meet Monica Welburn Of The Elgin Avenue

Grab a cuppa and read on...

More >

BEHIND THE BRUSH: MEET FURNITURE UPCYCLER ELIZABETH DOT DESIGN

BEHIND THE BRUSH: MEET FURNITURE UPCYCLER ELIZABETH DOT DESIGN

More >

BEHIND THE BRUSH: MEET DEBBIE CARNE OF ALIJOE DESIGNS

BEHIND THE BRUSH: MEET DEBBIE CARNE OF ALIJOE DESIGNS

In this week’s Behind The Brush interview, we’re getting to know the founder of Alijoe Designs, Debbie Carne ...

More >

View all
  • Products
  • Inspiration
  • Lifestyle
  • How-To
  • About
  • Stockists
  • Make it Yours magazine
  • Contact

Follow us

Rust-Oleum, Portobello Industrial Estate, Birtley, Chester-le-Street, County Durham, DH3 2RE
Tel: +44 (0)191 410 6611 Email: enquiries@tor-coatings.com
© Rust-Oleum 2022 Copyright. All Rights Reserved. 'Make It Yours' is a registered trademark. Privacy Policy | Terms & Conditions