How to create a DIY neon sign
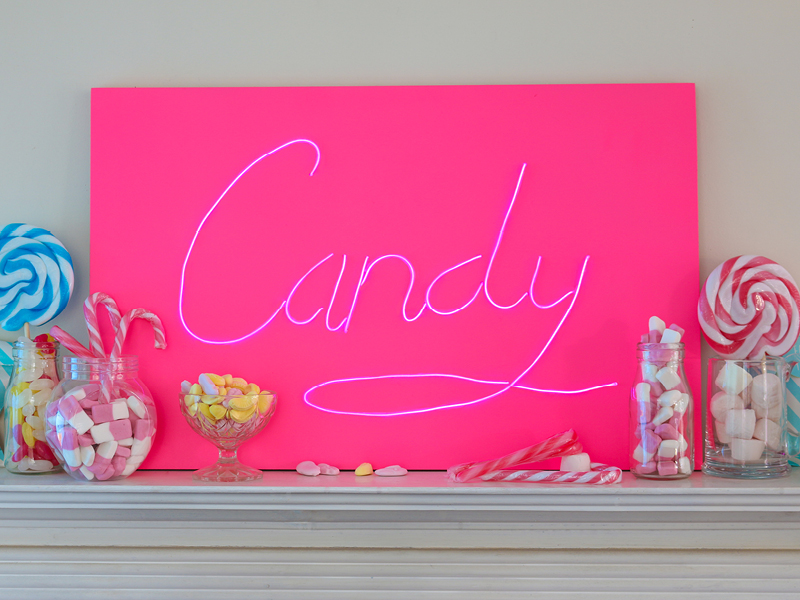 DIY Guru, Cassie Fairy brings us another ingenious upcycle with this neon sign!
“Perfect for weddings, parties or simply for decorating your home, this neon sign project is easy to DIY and makes for a really impressive project. Create a fun design to use as a nightlight in the kids’ bedroom, or hang a motivational sign above your office desk. Whatever you use it for, you’re guaranteed to impress guests, visitors and clients with your homemade much-easier-to-make-than-it-looks neon sign.”
What you will need
- Rust-Oleum Neon Spray Paint
- MDF board cut to the size you want the sign to be
- Rust-Oleum Surface Primer spray paint in white
- Electroluminescent wire (usually abbreviated to EL wire)
- Hot glue gun and glue sticks
- Sandpaper
- Drill and a drill bit with a slightly wider diameter than the EL wire
- Paper and pen
- Masking tape
Steps
DRAW YOUR DESIGN
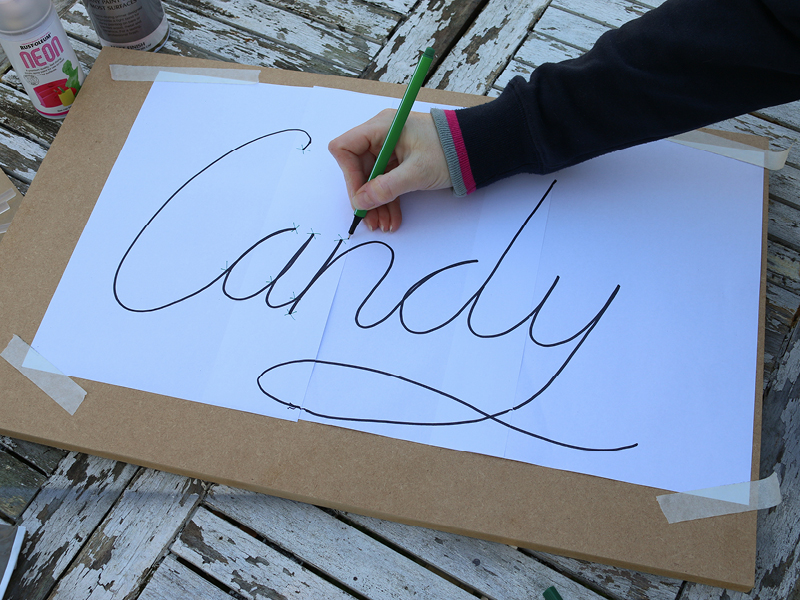
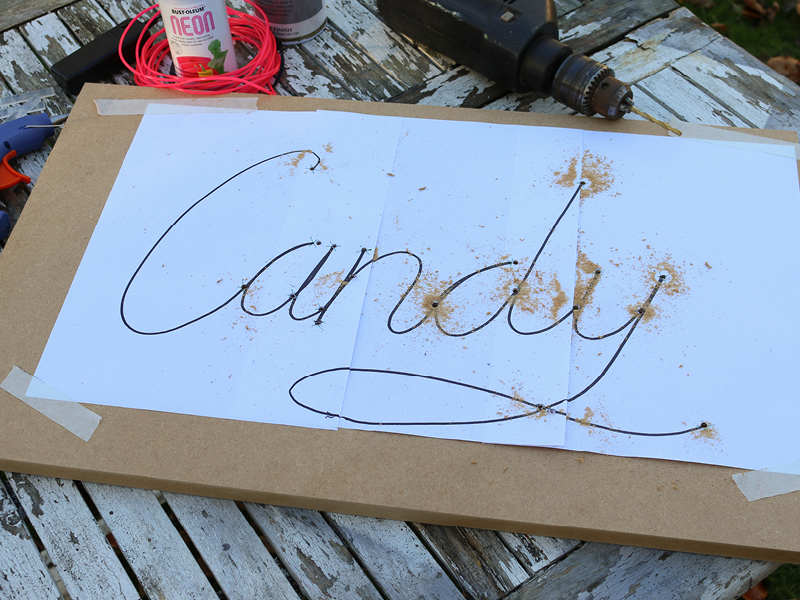
Using a piece of board already cut to the size of the finished sign, plan out the words for your neon sign on paper to make sure that the text fits on the board. You can either draw a word freehand to create a curvy design, or print out text from your computer. Use masking tape to position the paper template on the board.
ENTRY & EXIT POINTS
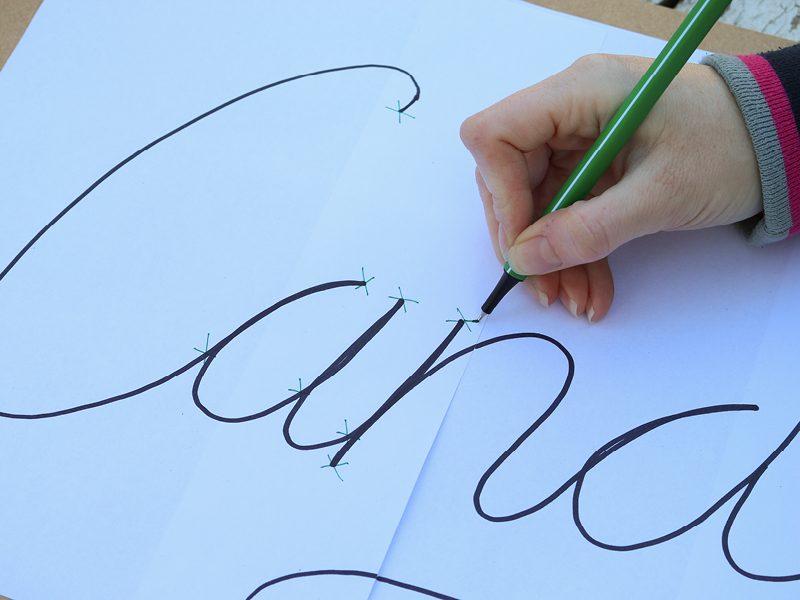
Mark all the entry and exit points for the EL write on the paper with a pen. Remember that the first piece of wire will feed through from behind the board and then be woven in and out of these holes to create the words. The final hole needs to take the excess EL wire back behind the board.
DRILL HOLES
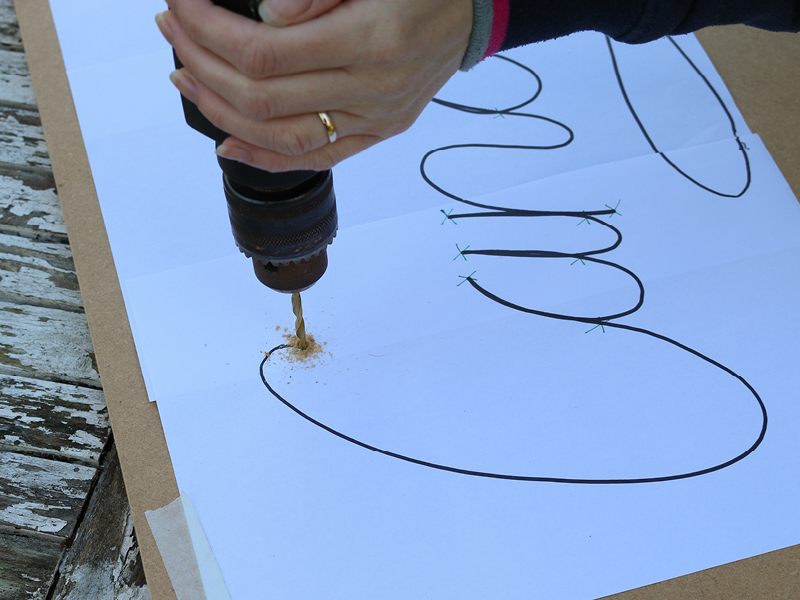
Using a drill bit that is slighter bigger in diameter than the EL wire, carefully drill holes at all the points you’ve marked on the paper design.
SAND
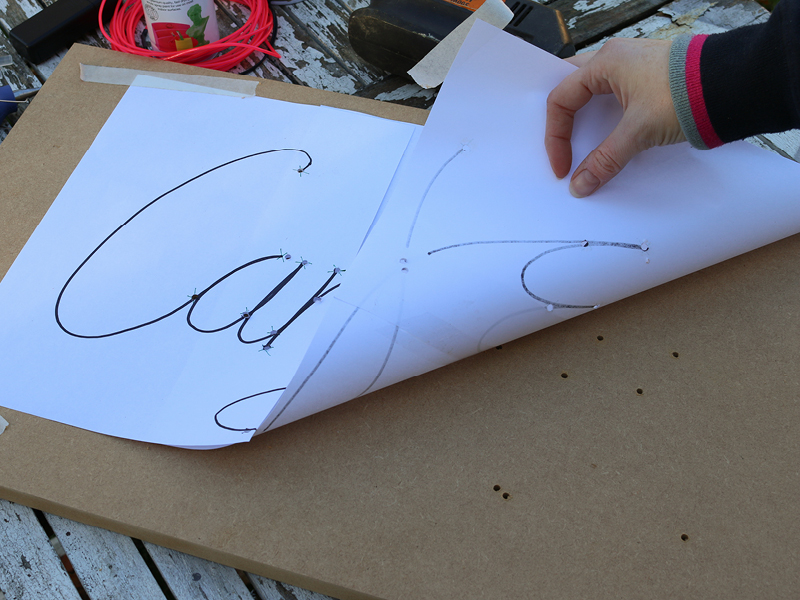
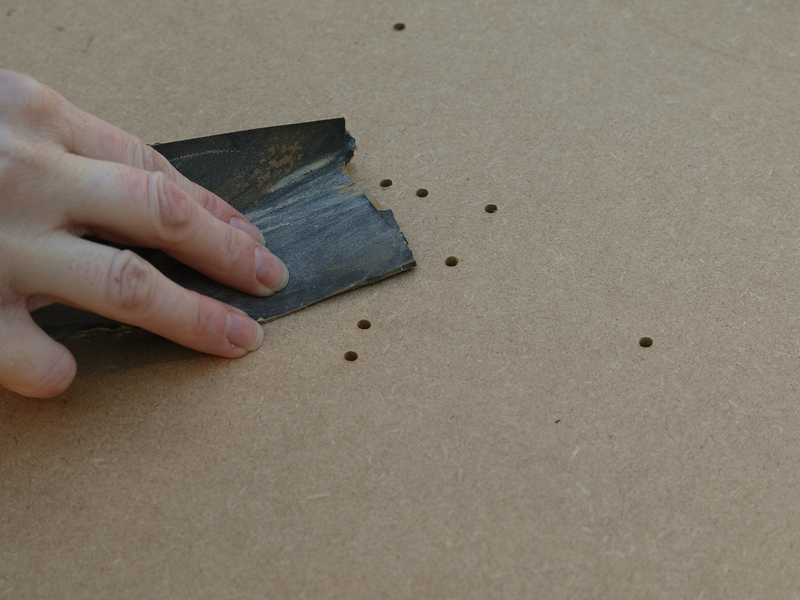
Remove the paper and gently sand down the edges of the holes to make the surface smooth.
PRIME
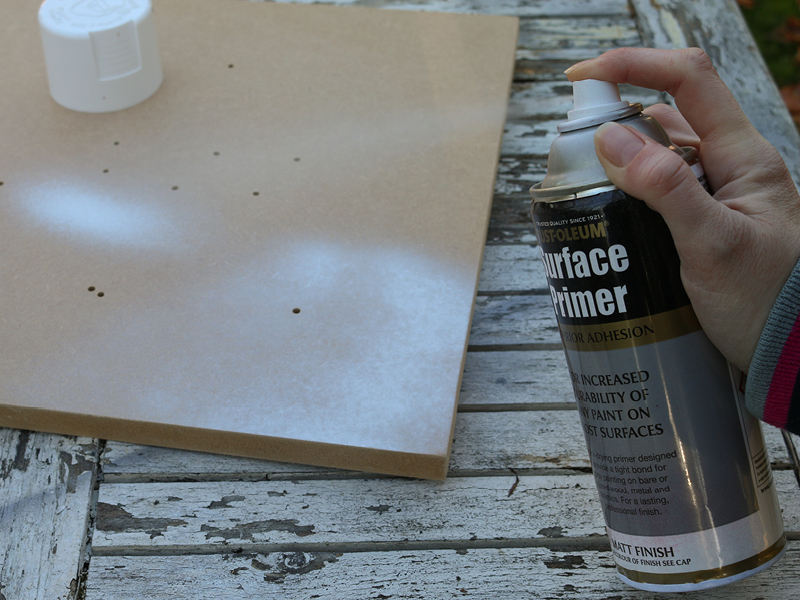
Use Rust-Oluem Surface Primer in white to spray paint the board with a coat of primer. The primer stops the neon paint from soaking into the board and gives it a surface to adhere to. Choosing a white primer background will make sure that the neon colour is really bright. Allow to dry thoroughly.
NEON PINK
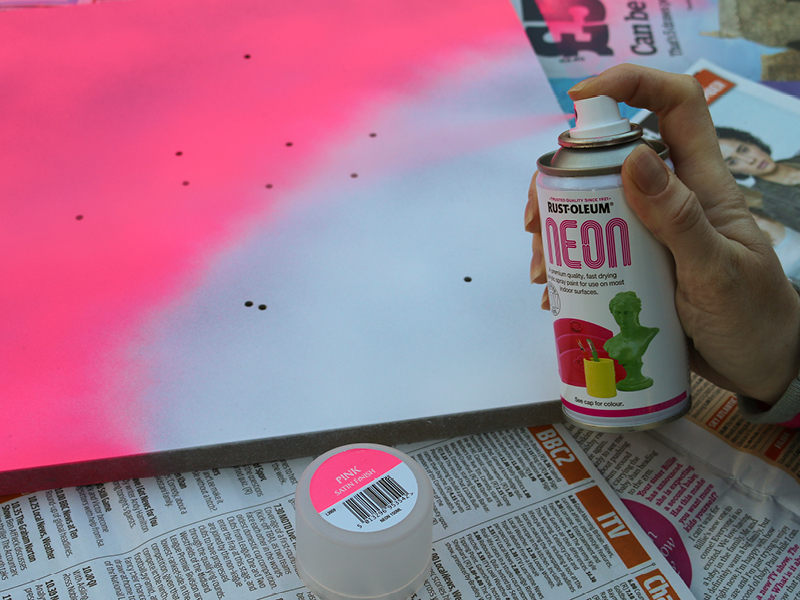
Use Rust-Oleum Neon Spray Paint to spray paint a layer of colour onto the board. A smooth finish will be achieved with a few fine coats of spray paint rather than one thick layer. Allow to dry thoroughly between layers and before moving on to the next step.
FEED THE WIRE
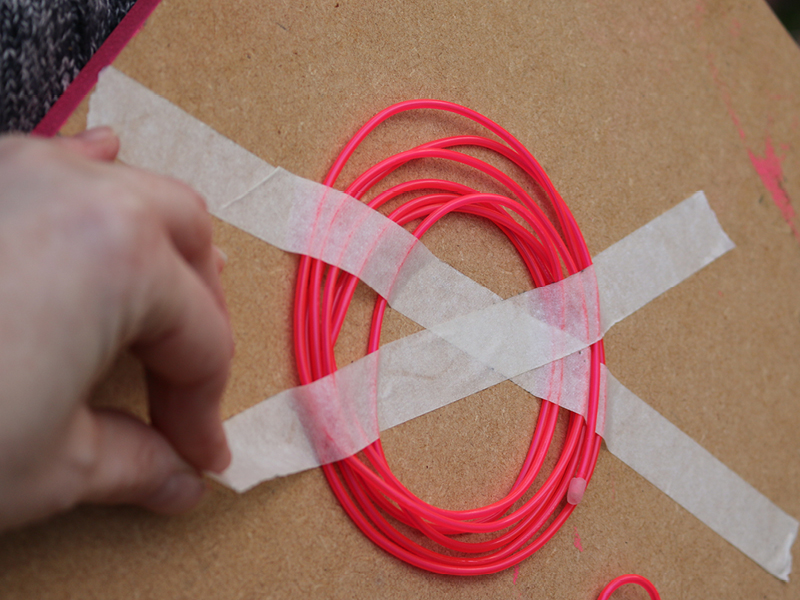
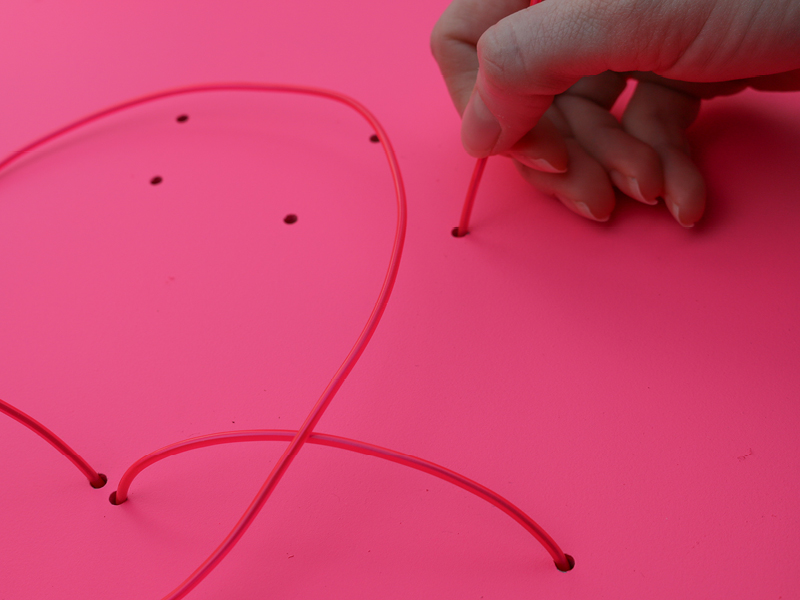
Tape the battery pack to the back of the board and begin to feed the EL wire through the first hole, pulling it all the way through. Feed it back down into the second hole and continue weaving in and out of the holes until the word has been formed on the front of the board.
SECURE
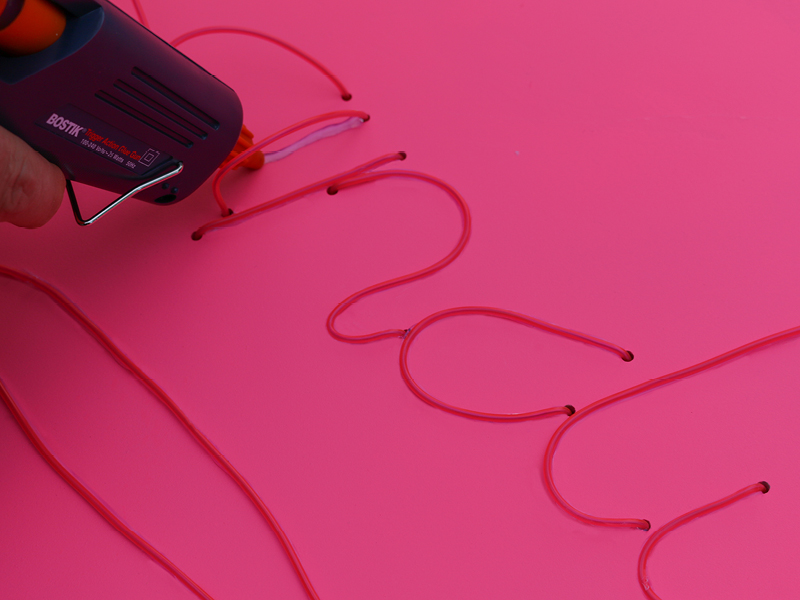
Use a hot glue gun to squeeze a small amount of glue into the first hole and continue to spread the glue underneath the line of the EL wire until you reach the next hole. Carefully press the wire down into the line of glue, taking care not to get your fingers in the hot glue, and hold for a few seconds until the glue sets. Continue to glue down all the pieces of the wire to form the letters.
TO FINISH
Tape any excess EL wire to the back of the back of the board and switch on your new neon sign!
